A semi-complete documentation of Audacity Effects on image files.
This can also be found on Tumblr, if you prefer.
When pursuing the wonderful practice of databending I think that experimentation is all important. Discovering new ways to do things is a key element to the entire experience. But I also know that without tutorials from Antonio Roberts (HelloCatFood) and Stallio (AnimalsWithinAnimals) I wouldn’t have taken the steps to really engage in the subject. They acted as a gateway for me to try new things and experiment with other ideas.
If you’ve never encountered it before, I highly recommend checking out Antonio Roberts’ tutorial on databending with Audacity, which can be found here.
If you’ve never heard of Audacity, then here is the website. It’s a free audio editing program with tools to cut and paste sound and to add effects, but it can also be so much more. With just the touch of a few buttons it can take an image and corrupt its form to create something entirely new – and the process is fascinating.
Following Antonio’s tutorial, you can trick Audacity in to opening an image file as a sound. Not only does this give you a sound wave which you can manipulate and bend to your will, but a lot of files sound pretty funky. A bit like if you put a Decepticon in a blender with a couple of R2 droids.
The easiest way to manipulate a file in Audacity is to select a section of the file and apply one of the built in sound effects to it. Now I’m no computing whizz kid but the way I see it when you apply a sound effect to a sound file, the program takes that file and alters the file data in the manner which it’s been told will achieve that effect. So, for example, if you were to apply an echo effect then it would repeat parts of the file, diminishing the repetition after each iteration. The wonderful thing is that it will do this regardless of what the file actually is. Audacity doesn’t know or care whether the file is a sound or not, it will alter it in the manner instructed.
When applied to an image… Well let me show you.
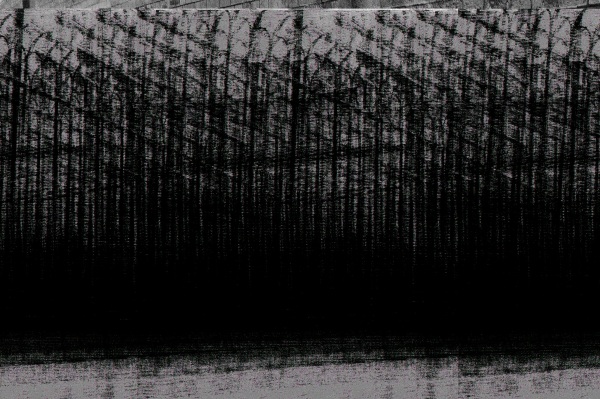
This is a photograph of a fence. You know this. But look what happens when I apply an echo to it.
Pretty neat huh? It somehow LOOKS like you’d imagine an echo on an image to look. Let’s try cranking it up to 11 and seeing what happens when we put a lot of echo on to it.
Phwoa, Melinda! That’s the good stuff.
So, you get it now right? Audacity can be used to manipulate files. Brill-o! Time for us all to go nuts and figure out what all those effects do! Me? I’ve already gone through and tested them all, one by one. What other way of finding out is there?
What’s that? I’ve compiled a catalogue of images that display what each of the built in sound effects do to an image? Oh snap, you’re right!
As I’ve said, experimentation and discovery are a huge part of making glitch art. After messing around in Audacity and trying out all the effects I ended up with the following selection of images for my own reference. I had a lot of fun testing things out on different images and seeing what happened and I wouldn’t want to rob that from you! But I’m also an advocate of sharing these ideas and processes, so if you want to cut those corners and go right for a certain look then here’s a semi-complete list of all the built in sound effects Audacity has to offer!
Consider this to be your Action Replay. The Konami Code of Databending with Audacity. The trip to GameFaqs when you couldn’t figure out that you could just pick up the idol and walk to safety. The…wait what was the question?
THE PHOTOGRAPHIC BASE
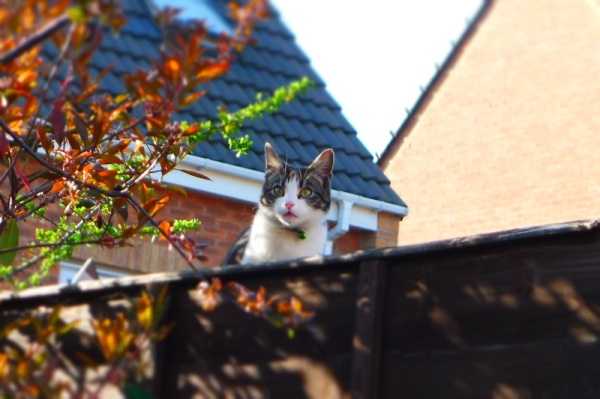
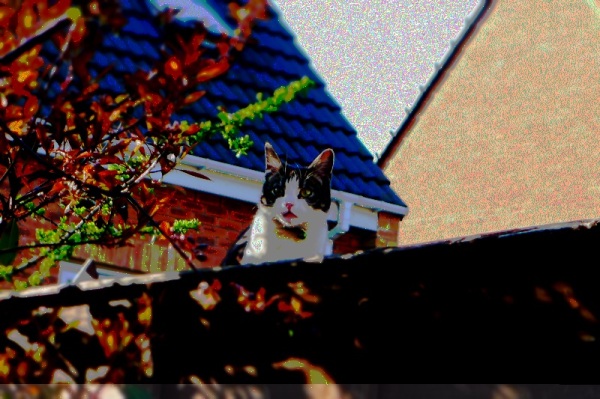
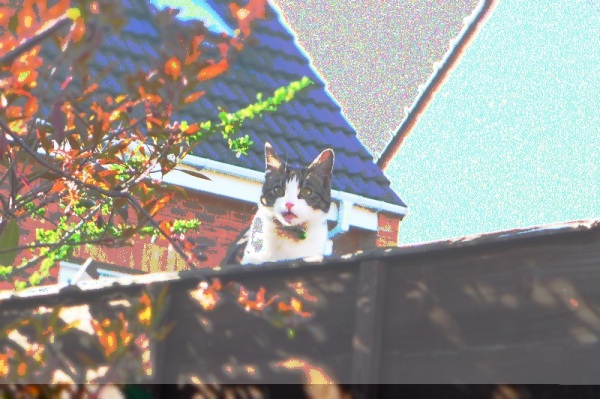
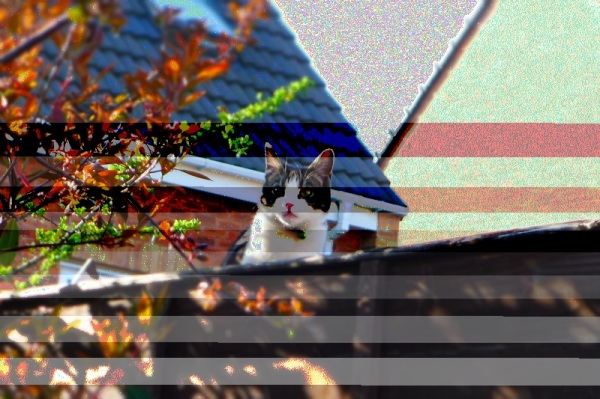
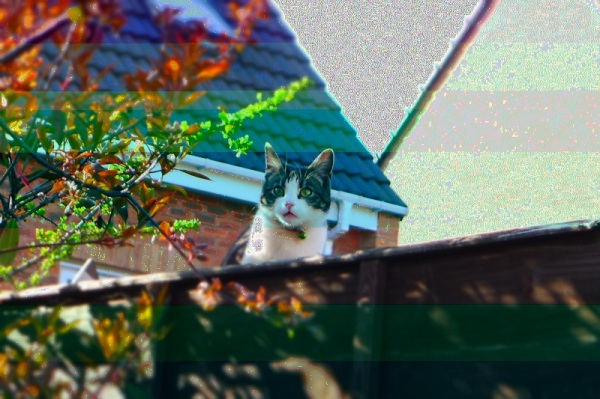
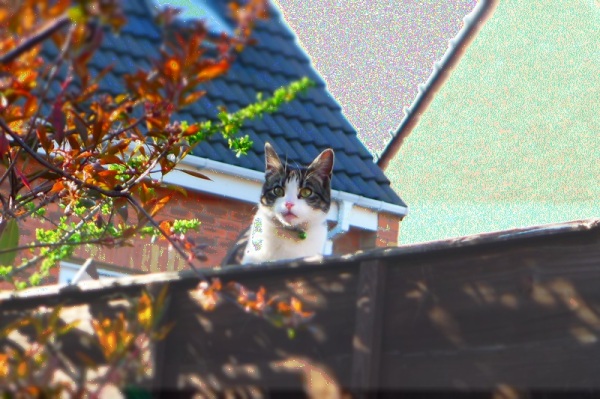
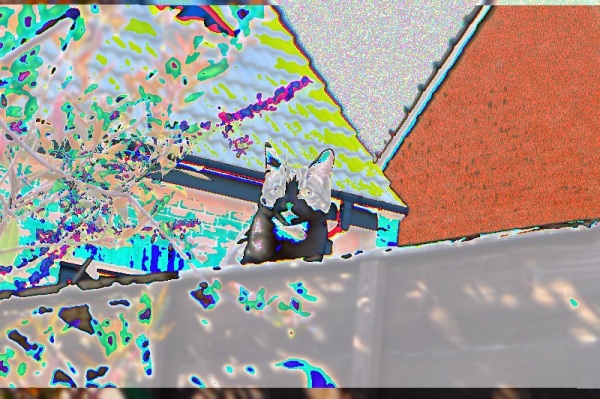
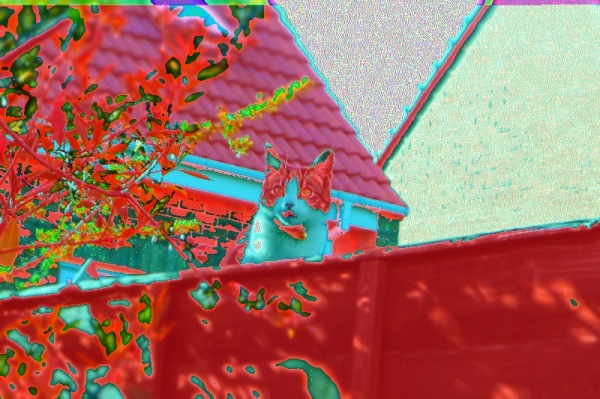
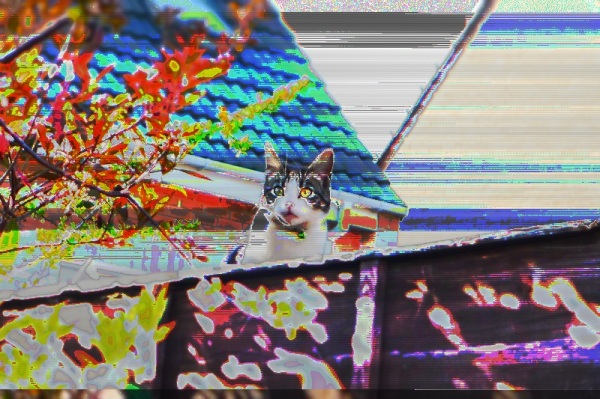
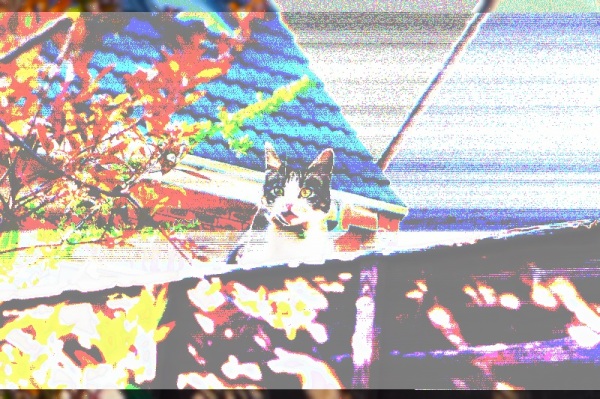
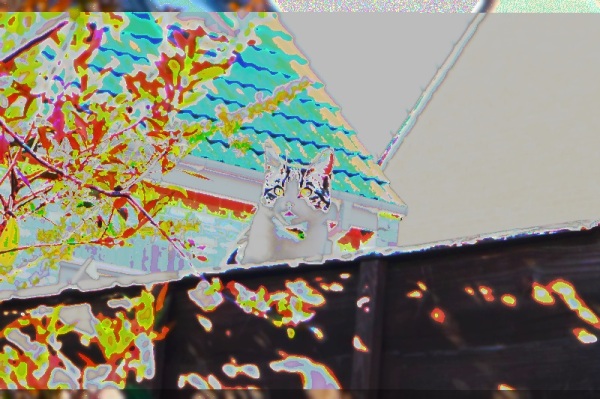
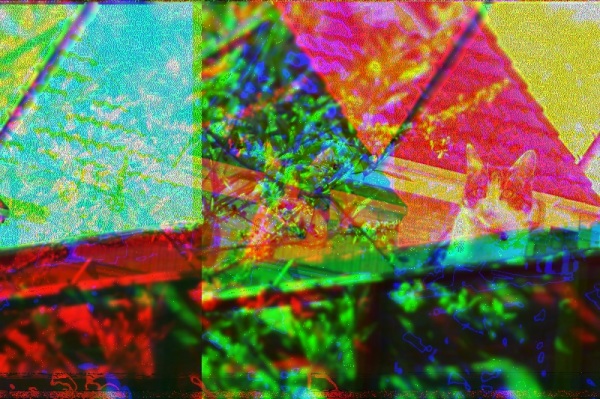
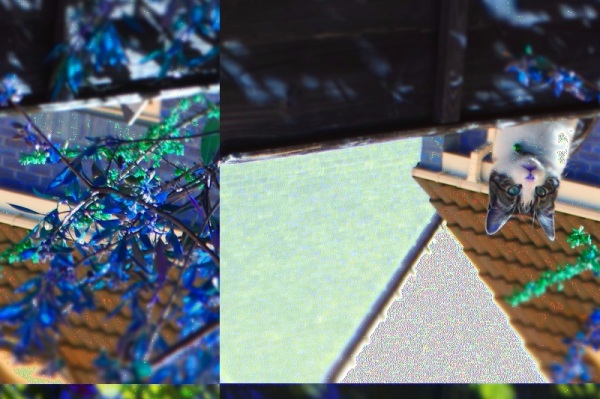
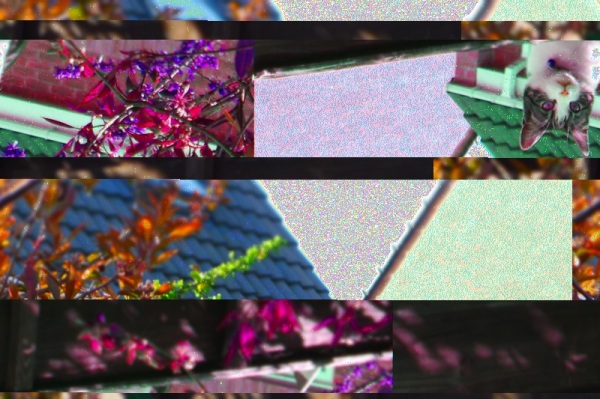
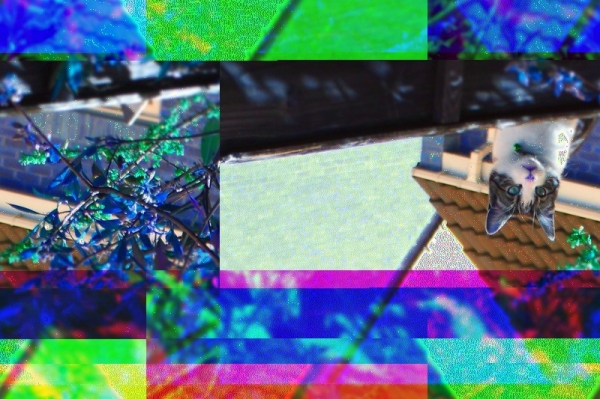
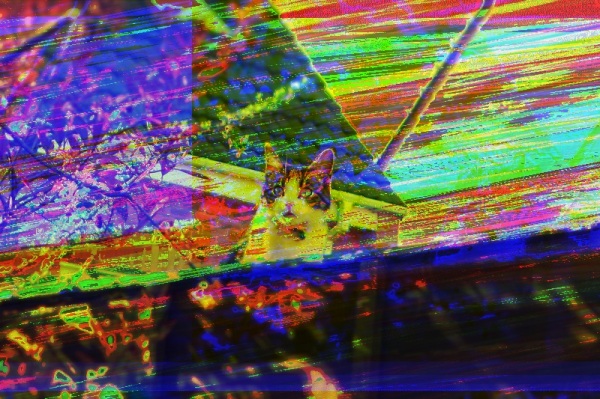
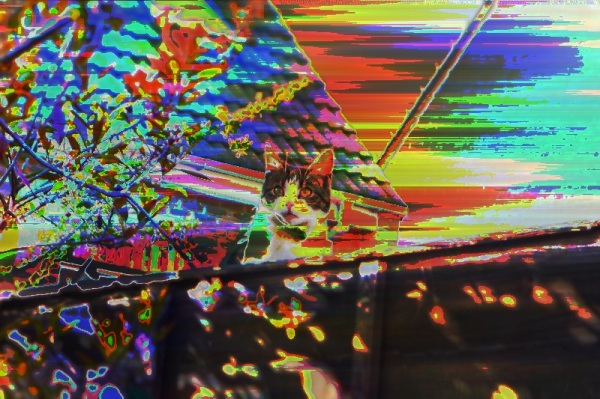
Oh right! Well, for this particular experiment I’d like to introduce Jarvis.
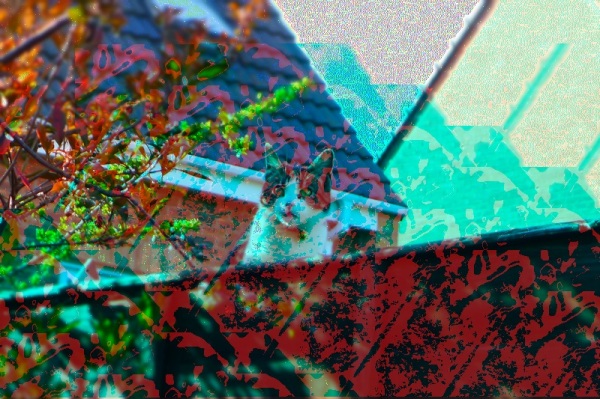
He’s the neighbour cat who keeps coming in to my garden and chasing off all the birds. Remember that – it’s vital to the process of databending.
I took the photo on a Panasonic Lumix LX-5, using the miniature setting for kicks. I imported the image on to my Windows 7 laptop and resized the file in Photoshop CS3 to be 800×533 pixels wide at 72ppi. I tell you this, because different sized images manipulated on different operating systems using different versions of different programs could have an effect on how the image turns out.
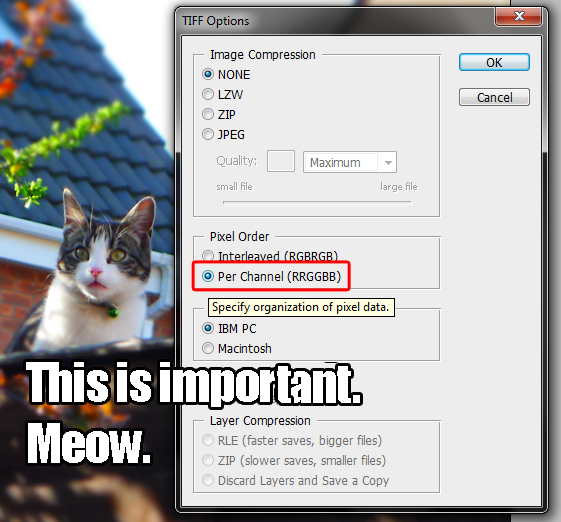
I then saved it as a BMP and a non-interleaved TIFF file. The non-interleaved (PER CHANNEL) part is an important factor.
What’s inside the red box is important. The first T in important is not so. Ignore it’s lies.
What this does is it saves the colour channels of the file separately as you can see by the RRGGBB, which stores all the red values, green values and blue values together. I won’t go too far in to that, but because each colour channel is being manipulated separately it can cause some very interesting colourful effects. When opened in Audacity, you’ll get three ‘sections’ where the colour channels start and end. There’s usually a big jump in the sound file that indicates where one ends and one begins, which means you can select which colour channel you want to manipulate.
I’m also using the latest version of Audacity at the time of writing this, which is version 2.0.1.
So, without further ado…
NO EFFECT
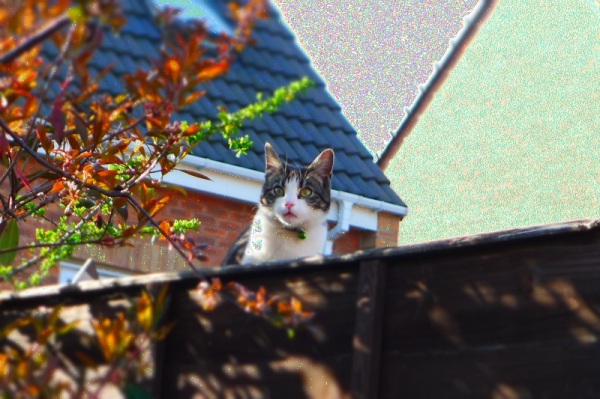
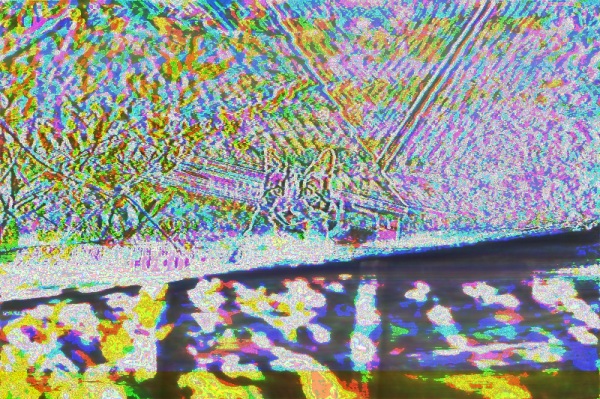
The first thing to note is that you sometimes don’t have to apply any effect to the image at all for it to be slightly changed. Here you can see that the brightest areas of the image have a grain on them now. I originally thought this was a side effect of the amplification process, but actually it turns out that this is just the distortion that happened when Audacity tried to interpret the file. So in all the images that follow, ignore that grain!
AMPLIFY
As you can imagine, amplify just changes the volume of the ‘sound’. This pretty much just makes the image darker, more contrasted and generally more intense.
When using a TIFF file and applying the effect to the entire image it has the same effect as on a BMP, but when amplifying sections of the colour channels you can increase or decrease how much of that colour there is. For example, you can see here where I’ve increased how much green there is by amplifying the sections.
AUTO DUCK
I was disappointed to find that this did not in fact turn Jarvis in to a duck. Ducking seems to be when you lower the volume of a track so that another track can be heard over it, like if you were doing a voice over to a video and wanted it to be loud, but then quieter when you were talking so that you could be heard. Without there being multiple tracks this doesn’t seem to have many uses other than basically being another way of ‘amplifying’ your image. But hey, go wild!
BASS BOOST
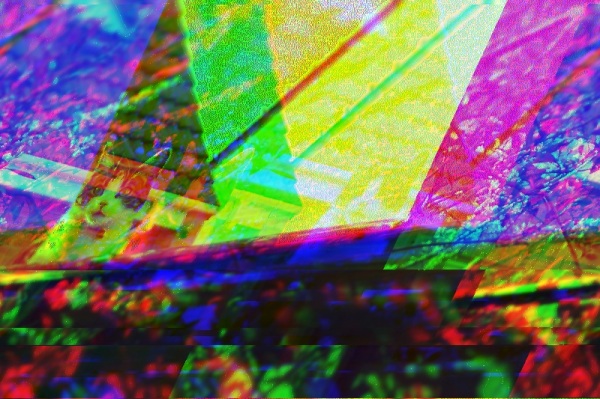
The bass boost effect is rather volatile. Below, I applied varied levels of boost and frequency to the image but each one drastically altered it. Below the first image you can see how it looks at low, default and SLIDERS-AT-THE-TOP levels of bass boost.
I don’t know about you, but as far as abstract patterns go I rather dig it! And it gets even better if you use a TIFF file! Huzzah!
CHANGE PITCH
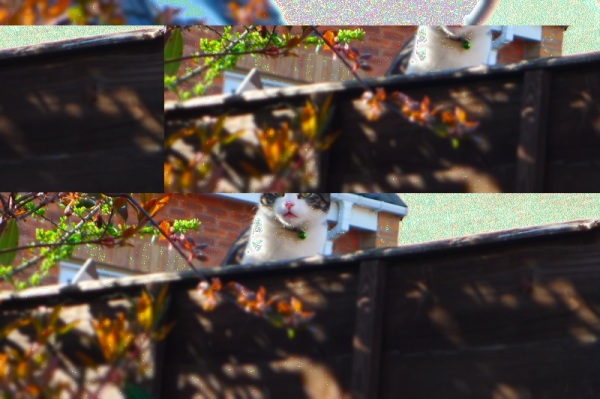
One of the things about these files is that you have to keep them the same length as when they started, otherwise it doesn’t work. Changing the pitch of a file seems to alter the file’s length a tad, which means that applying it straight on to the ‘sound’ doesn’t yield a useable result.
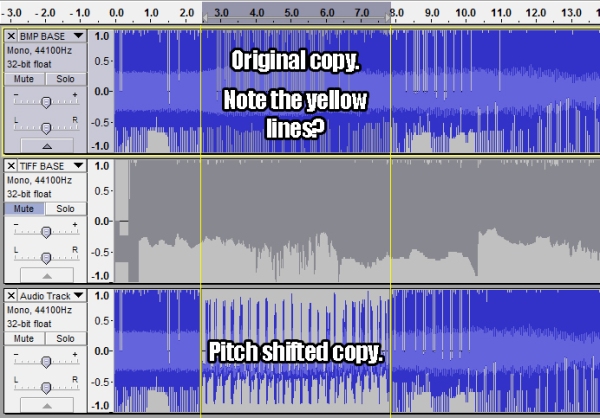
What you have to do is make a duplicate channel with the same ‘sound’ file on it, then apply it to that. Then, select that section of pitch changed audio and measure its length. Then you need to remove that exact amount of sound from your original track and remove it using the split cut feature. It sounds tough, but if you split the pitch shifted section from the rest of the track then Audacity ‘snaps’ your selections to the edges of that section. Let me show you.
So you delete that section in the top track, and then drag the split selection from the bottom track in to its place. This replaces the section of unaltered sound with the pitch shifted sound without changing the length of the file. But remember, when you save the file, you need to only have the one track active. Either mute or delete any other tracks that you’ve got open, else it won’t work.
Well, there is a way to layer tracks, but I’ll save that for another tutorial. For now, enjoy this.
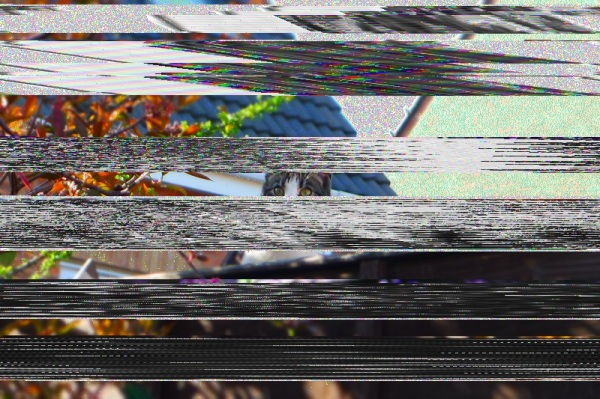
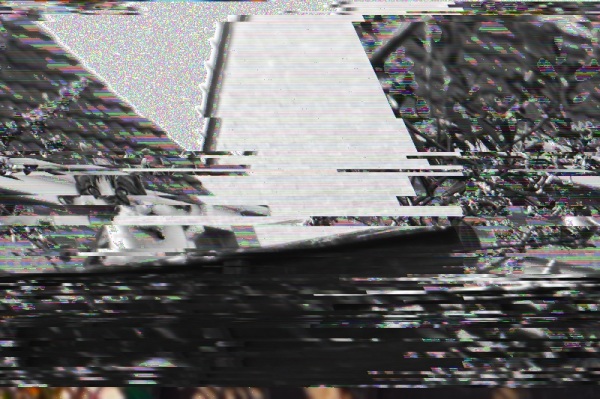
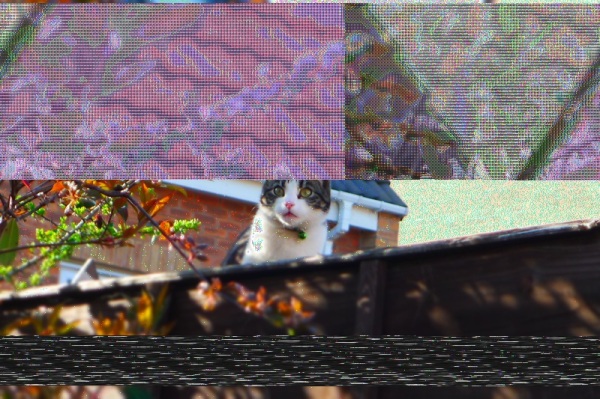
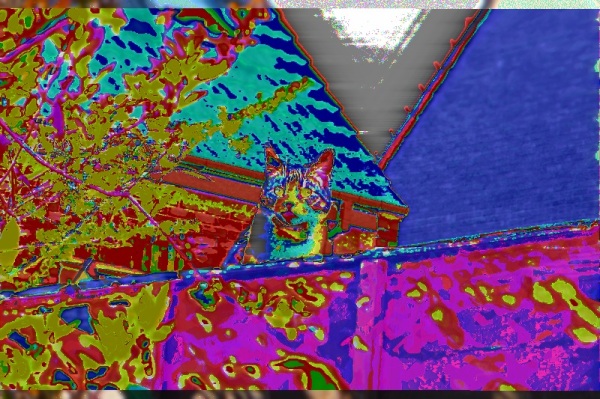
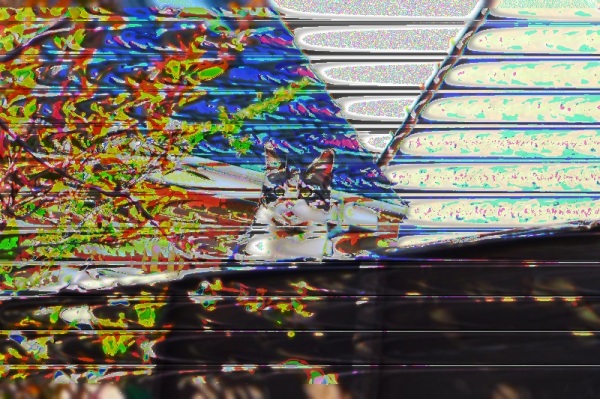
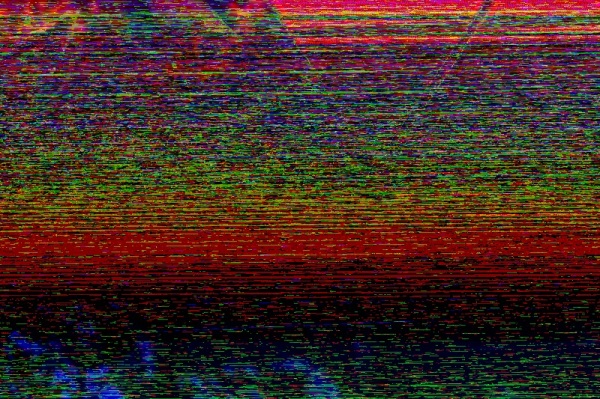
Yep, it makes it pretty static-y. It seems that what it actually does is to shift everything around, so the more you’ve changed the pitch the more intense and thin the static is – but it’s very sensitive. The second one from the top is only a 1% increase in pitch. The top one is a 0.3% increase. Here’s what happens when you increase the pitch by 0.05%.
Funky huh! It’s got that kind of analogue look about it. But now look at the TIFF file version!
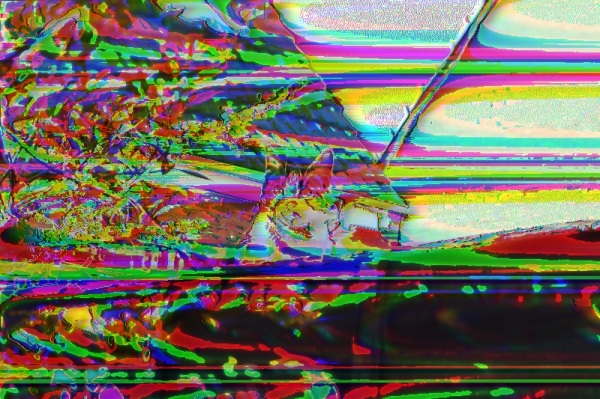
Same again, at 0.05%! But look at all dem purdy colours! I tried it again at 0.5%.
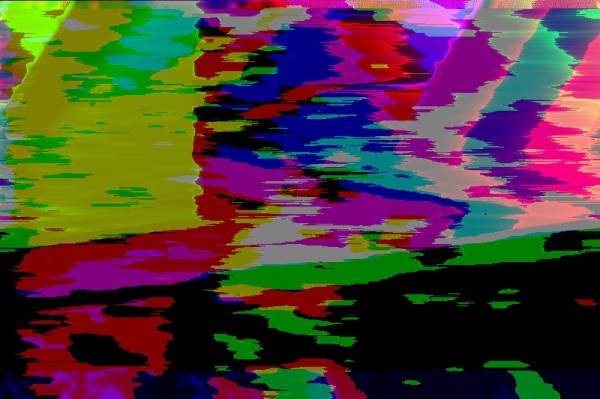
Now it’s colourful and sweepy! Bodacious!
To show you how it affects each channel, I applied a small pitch shift to sections of each colour channel. The results? Well, mostly it just ‘shifted’ everything.
CHANGE SPEED/CHANGE TEMPO
Changing the speed of the ‘audio’ also changes the length of the file, so you need to use the same technique for this as you do with altering the pitch. I’ve also noted that changing the tempo does the exact same thing as changing the speed. In music there’s a difference; in glitch art there is only the thrill of chaos!
The first image has a 5% change in speed either way, then the second bumps it up to 50%.
The third image is obviously another one of those delicious TIFF versions, at 50%.
CLICK REMOVAL
I tried all the different settings on both of the files. On this particular file this effect did absolutely nothing, which is weird because it sounds like this and there’s got to be some things that register as a click in there; but apparently not. That said, while it didn’t work for me it might yield something for you! So give it a shot!
COMPRESSOR
This also did not do a lot. The changes amounted to nothing more than a slight shift in the brightness of the image, no matter what I tried. But again that’s not to say you shouldn’t experiment. I didn’t find anything but you might find the Higgs Boson for all you know!
And that joke would have been much better had we not already found it at the time of writing this. Moving on!
ECHO
Ah yes, you’ve seen the echo in action and know how it works.
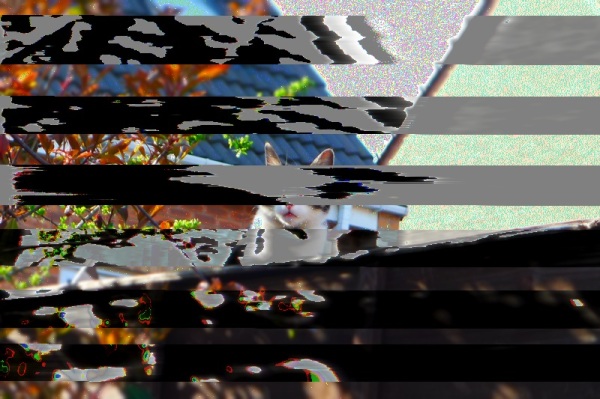
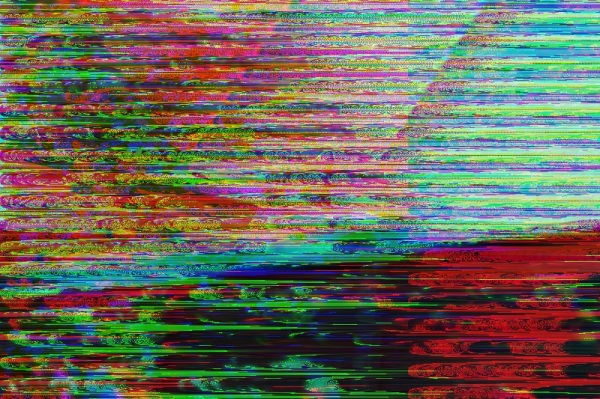
The echo effect as two variables – delay time and decay factor. The delay time increases the gap between each repetition of the image. So the higher the delay time, the less of the effect there is. The decay factor works the opposite way. The higher the decay factor the more time it takes for that echo to decay away, meaning that the images will stack over each other more.
Really, this one’s an interesting one and I can’t recommend anything more than experimenting with it for yourself with each image. It can create some interesting ghost effects, repeated patterns and abstract pieces. Just go for it.
Seriously. Now. Go. Do it. Are you done? Was it cool? Of course it was cool. You’re subverting modern perceptions of technological limitations.
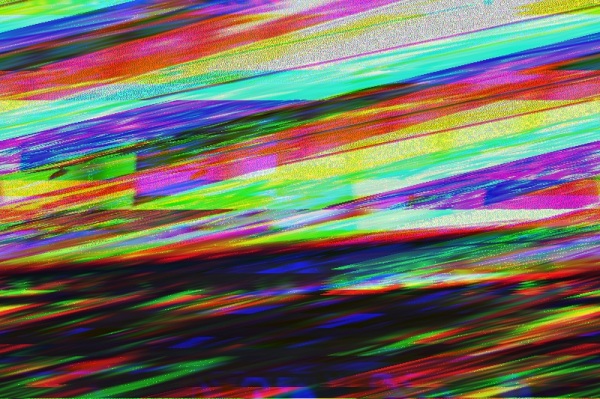
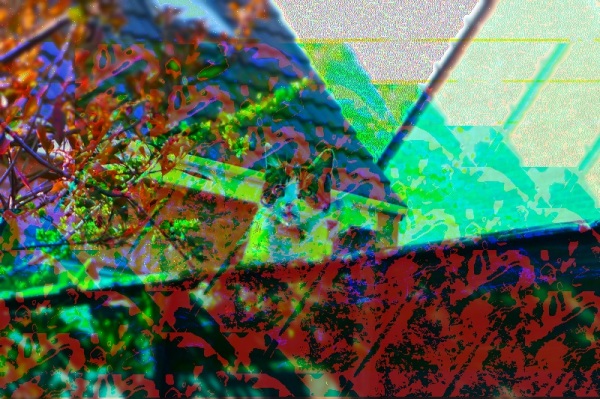
Because it makes so much colour already it gets super-powered when you use it on a TIFF.
EQUALIZATION
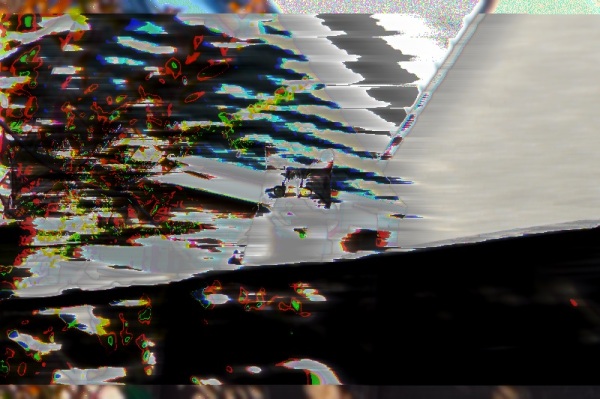
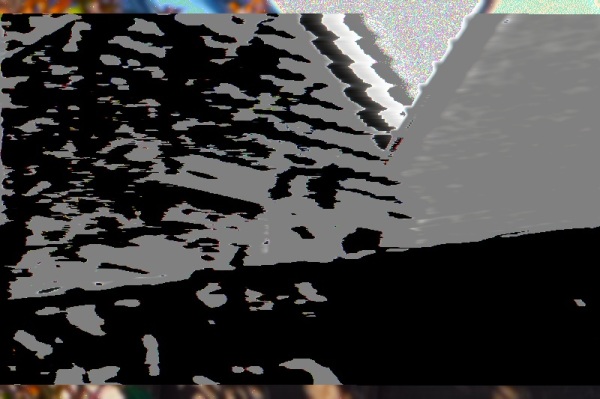
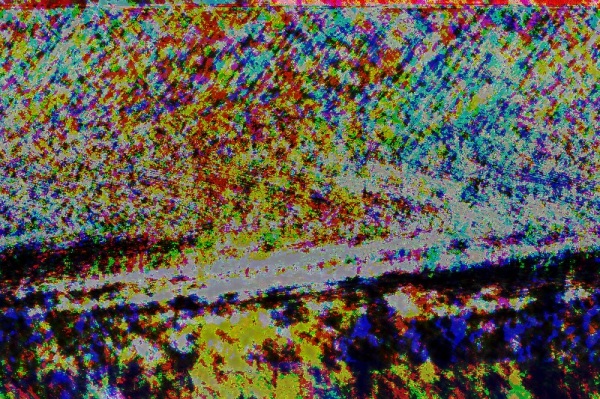
This one’s a tricky one. It gives you a grid and you can literally go wild with it. I’ve found that making sharp spikes with it works somewhat, but also making curves is great. There’s a some room for experimentation here with different equalisation shapes, but here’s a few that I got by making zig zags!
And when applied to a TIFF…
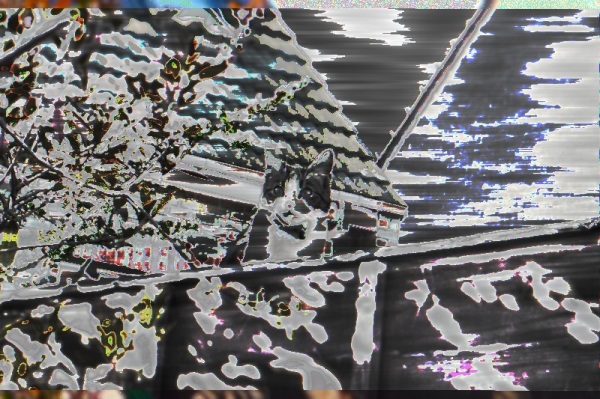
Now, I often find that I don’t like the grey in these. I mean dark and dull can work for some things, but I like the colours to be vibrant. Below you can see an image created while using this effect, then another image below it. All I’ve done is open the file up in Photoshop CS3 and using Image>Adjustments>Brightness/Contrast I’ve pumped the brightness up to 100. This negates the grey and brings a bit of life to those colours. Aside from that one image, everything else here is shown exactly as it looks when exported from Audacity.
There are also some preset curves in the equaliser dialog that you can choose from. Inverse RIAA turned out to be the most interesting, with acoustic bringing up the rear with this interesting sweep it’s got going on. Everything else sort of looks the same.
FADE IN/FADE OUT
This one is pretty self explanatory. I’m sure that you know what fading in and out on a track is. This applies that effect to an image, and you can see how it works.
All it seems to do is add these white lines to the image where it’s diluted it away to start fading in. Other than that I’ve not noticed any other differences to the image.
INVERT
The invert effect turns the entire sound upside down. It doesn’t have any variables at all, so here’s what it looks like applied over a BMP image.
It’s…kind of inverted. It’s certainly something. But here’s it over a TIFF file.
I wonder what happens when you just apply it to the channels individually…
Apparently it messes with the colours. Who knew?! Looking at the pattern of previous TIFF file examples, you’d think it wouldn’t do ANYTHING to the colours at all! [/sarcasm]
LEVELLER
This one was another bust. With everything at max and min there was only slight changes to the brightness of the image. But again, experiment at your own leisure!
NOISE REMOVAL
Before you can apply this effect, you have to click “Get Noise Profile.” Then you can happily remove noise to your heart’s content.
Of the sliders, the only one that seemed to make any difference to me was the first one – Noise Reduction (dB). In the images below it is set to min, default, and max respectively. Strangely enough, the more noise reduction applied to the sound, the more noise there would actually be in the image.
And again, applied to TIFF files for your leisure.
NORMALIZE
For this effect that first checkbox is all important. Without it turned on, it doesn’t do anything. But with it turned on it does this.
That’s with everything at default. Apparently you’re not allowed to normalise UP but I went down to -50dB and all that did was make the image lighter because it’s making the sound quieter.
NQUIST PROMPT
This seems like the place where someone would write their own parameters for altering the sound. Unfortunately, it’s far beyond me. I know my way around a computer but I don’t know how to write programs. Perhaps someday I will, but for the moment I’ll leave this to those that know what they’re doing.
The only thing that I can note is that typing gibberish in to the box, or pasting the script to an entire episode of Monty Python’s Flying Circus doesn’t do anything.
PAULSTRETCH
What a name. It sounds like an unfortunate torture device built only for those named Paul (sorry, Pauls of the World).
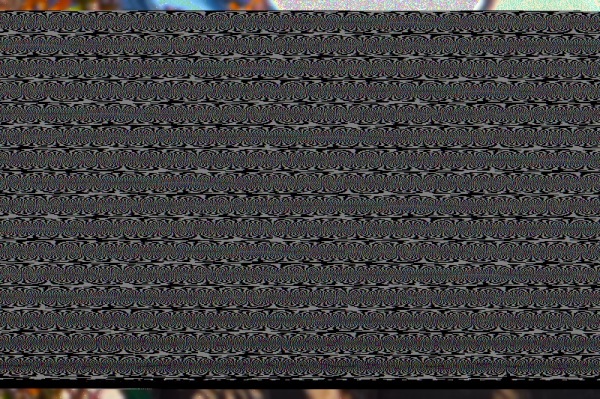
Changing the ‘stretch factor’ of this effect changes the length of the file, but somehow I managed to get some static out of this instead of just broken files. A welcome anomaly in my results when changing the length of the sound track.
Changing the time resolution to zero did nothing. But setting the time resolution to the length of the clip that you’re using made this cool glitchy coloured cloud effect!
PHASER
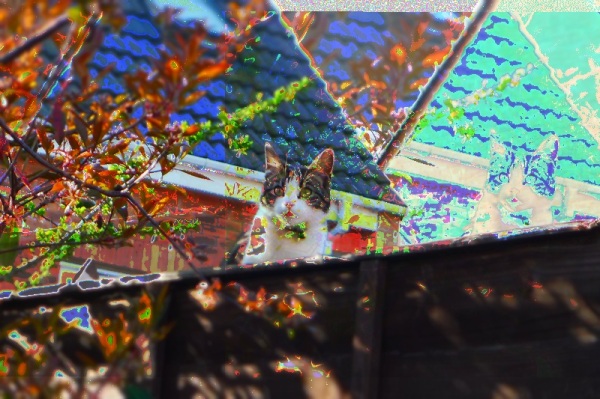
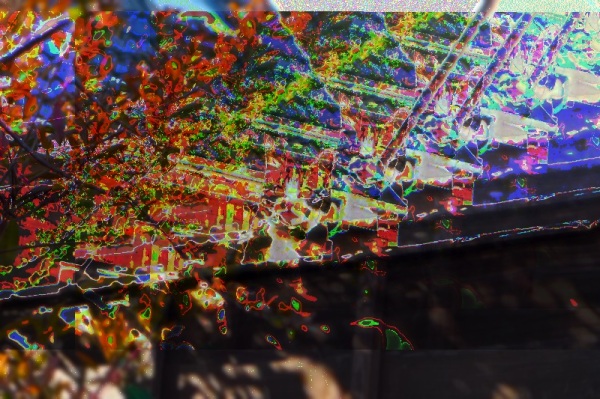
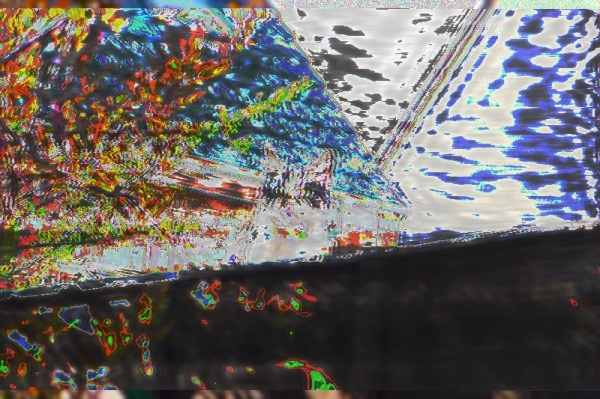
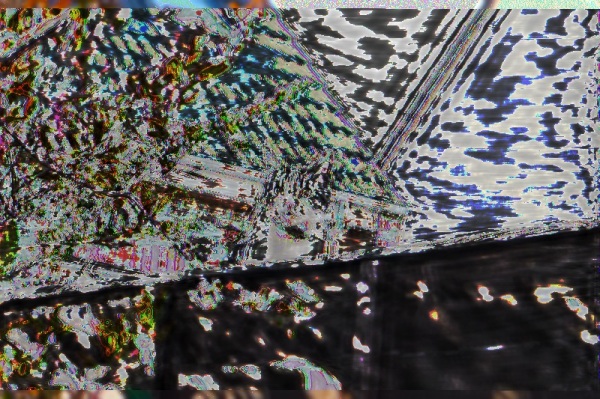
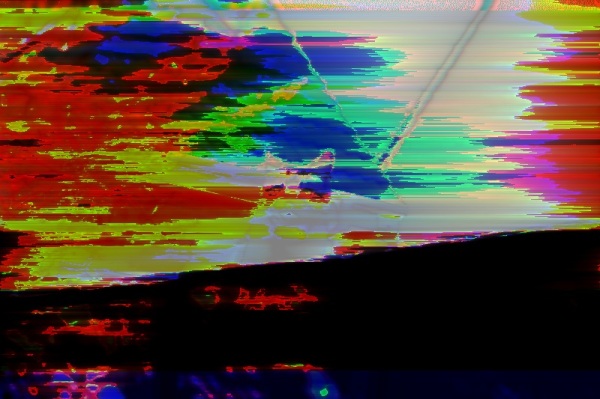
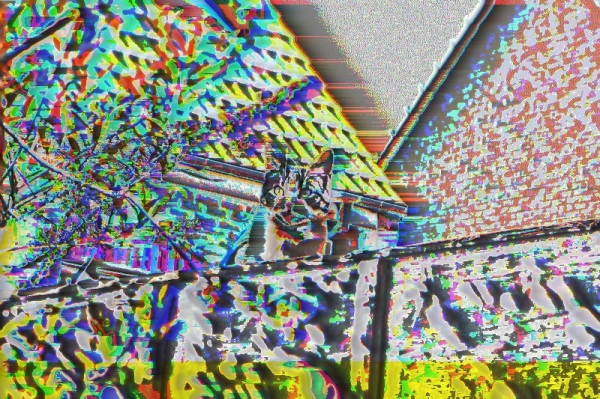
Ah, this one’s a good one. It kind of pulls the file to the side and has this weird curve to it. It’s really interesting how when you apply something to an image it LOOKS like how it might sound. At default, here is what it looks like on the BMP and TIFF files.
Not bad at all! The BMP ends up with more darker lines while the TIFF has it’s colours run amok.
There are six variables here, so I’ll list what each of them does quickly.
STAGES changes how many spikes/curves will distort the image.
DRY/WET changes how intense the phase is. If this is set to 0 then the Phaser does nothing.
LFO FREQUENCY dictates how close together those stages are going to be.
LFO START PHASE determines where the phase starts.
DEPTH seems to decide how wide and intense the phases are. If this is set to 0 then the Phaser does nothing.
FEEDBACK is just a ball of fun. The more it strays from 0 the more distorted stuff gets, but putting it at either ends of the scale is the most fun. Take a look.
Neat! And of course the TIFF versions too! I increased the brightness on these to showcase the pattern-y goodness.
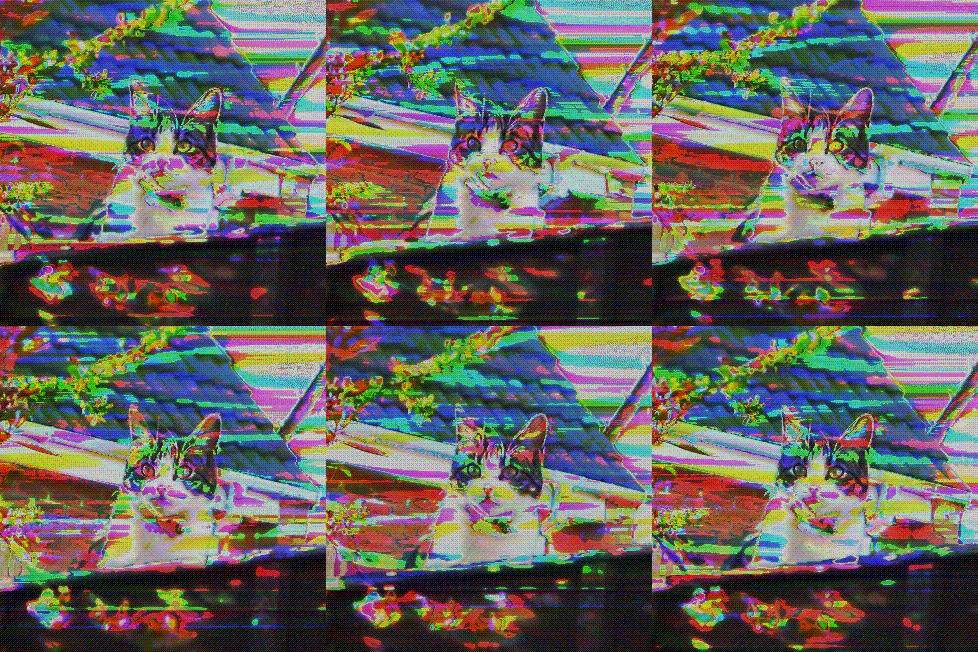
Coming back to the LFO for a quick second. This setting doesn’t make a lot of difference, but if you had several versions of this at differing intervals you could make it move. Like so!
Mmyep. Someone put LSD in Jarvis’ water bowl again.
The same sort of effect could apply to a load of the variables across the effects in Audacity. If you take them one step at a time and save each time you could get a steady progression between them.
REPAIR
The repair tool can only be used on very, very small sections of a file. I imagine it might have an effect if you went along and did it for the entire file, but that could take hours and might not be very good. Perhaps, someday when I’ve got little to do, I’ll go along and find out. But for now, this shall remain a mystery!
REPEAT
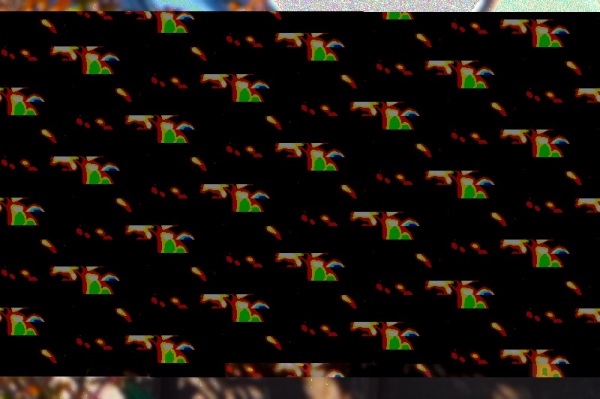
This one basically just copies the section then repeats it over. On a BMP file it looks like this.
But if you copy and replace a section of a TIFF file it looks like THIS!
REVERSE
This one takes the entire thing and flips it backwards – a little bit like invert. On a BMP file it doesn’t do a lot. Cuts it up and messes with the colours just a little bit. On a TIFF file, if you do a lot of different reversed sections it can make some colours, but really you’re better off just selecting pieces and cutting and pasting it that way.
Again using the TIFF.
SLIDING TIME SCALE/PITCH SHIFT
Remember Change Speed and Change Tempo? Well this pretty much is the same thing. It has some uses for editing audio files I’m sure, but for glitching images it’s not so great. Not to mention that it changes the sound track length so you have to compensate for that. My experiments have given me nothing new here!
TRUNCATE SILENCE
This particular tool is used to reduce the duration of silence in sound tracks. In this particular track/image? There aren’t any. But despite that, it would also alter the track length. Again, I didn’t find a use for this, but you might have better luck.
WAHWAH
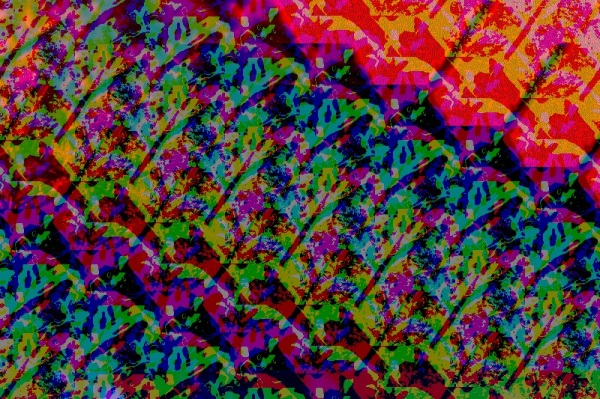
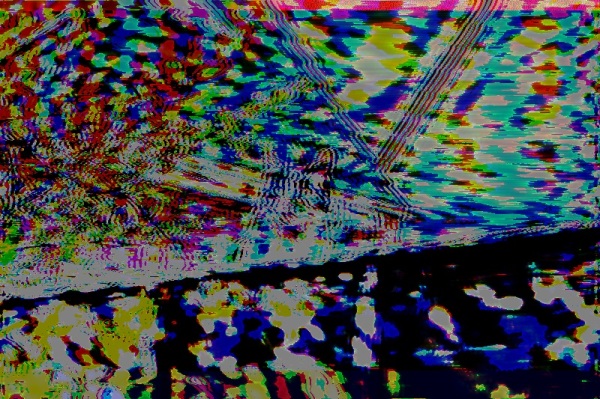
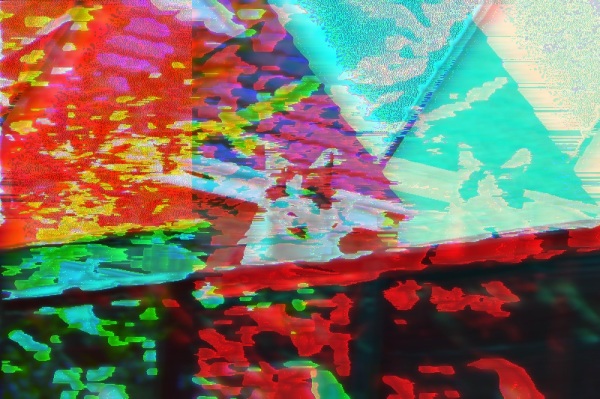
The wah effect works very similarly to the phaser. When set at default it makes these cool patterns in the BMP and TIFFs respectively.
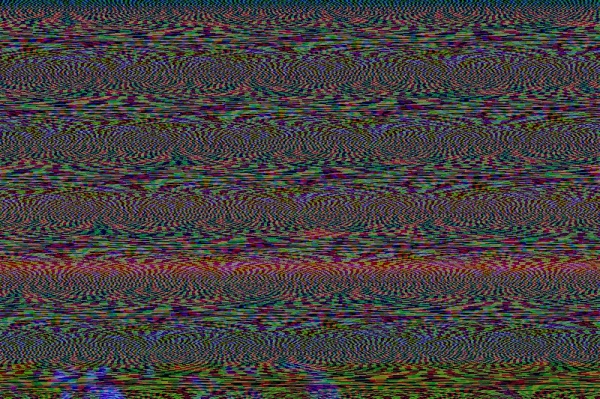
Some of the settings are even the same as on the phaser and they even do the same thing, just for this pattern instead of the phaser pattern. I found that it was much cooler to apply the effect to a TIFF twice in a row.
And again, if you turn the resonance all the way up you can really see the pattern coming through. Looks a bit like those phaser patterns.
MISCELLANEOUS
And that is the end of the base audio effects in Audacity!
After those effects there is a line break, and a few other effects. The notable mentions are below, along with a couple of other things I’ve found, but I’m hoping this has given you the bug and filled you with the desire to go out and experiment and find new and more interesting ways to mess with file types!
GVerb
High Pass
Low Pass
Delay – Bouncing Ball
Notch Filter
That’s How, for now!


















diana
/ December 22, 2012how do you export from audacity? it never works after i put some effect on it
Howl
/ December 22, 2012What’s the outcome that you do get? Just a broken file?
Something I did wrong to begin with is I didn’t realise you have to export it using the same settings that you imported it with!
I usually import BMP or TIFF files in to Audacity, it handles them pretty well.
You import them using “File>Import>Raw Data…”
Then the settings I usually go for are;
Encoding: U-Law
Byte Order: Big-Endian
Channels: 1 Channel (Mono)
Start Offset: 0 Bytes
Amount to Import: 100%
Sample Rate: 44100Hz
Then you do your thing, apply the effects and throw whatever other crazy ideas you have at it, then export it with “File>Export”.
Where it says “Save as type:” you have to click the drop down menu and change it to “Other Compressed Files”, and then click the Options button in the bottom right and change the settings to match your input settings.
Header: RAW (header-less)
Encoding: U-Law
Then, in the file name you can specify what kind of file you want to export it as. Exporting as a BMP seems to work just fine almost all of the time, regardless of what the imported file type was.
But, an important thing to note is that a lot of file types have a header which stores important information about the file. If you alter that then it almost always makes the file unreadable. So I usually skip about 5 seconds worth of the file and test it to see if that works, and work backwards from there until I find the sweet spot where the header ends and the image data begins!
If you want to avoid using headers though I’m pretty sure you can use RAW files saved from Photoshop!
You can probably get some interesting effects if you explore the different export options too! I’ve not done much experimentation with those yet!
Good luck! I’d love to see some of the stuff you come up with :D
Amberrrr
/ February 18, 2016But, an important thing to note is that a lot of file types have a header which stores important information about the file. If you alter that then it almost always makes the file unreadable. So I usually skip about 5 seconds worth of the file and test it to see if that works, and work backwards from there until I find the sweet spot where the header ends and the image data begins!
If you want to avoid using headers though I’m pretty sure you can use RAW files saved from Photoshop!
i dont understand what you mean here, and i am having a hard time getting the image to .jpg i get up to the export save point, but my image wont open with anything
Polopocket
/ January 17, 2013You don’t know how useful is this!! I’ve been looking for it so long!
Congratulations from Spain!
QuestionSomething
/ January 17, 2013You are very welcome! Good luck! Do send me any of the images you create! :D
Hctr
/ March 6, 2013Everything I export end up in a greyscale, how can I fix that? I tried several things but nothing seems to work.
QuestionSomething
/ March 6, 2013Hm. I’m not sure! Maybe if you talk me through the process step by step I might be able to spot where it happens?
What have you tried?
What type of file are you importing? What import settings?
Also what type of file are you exporting it as, and with what export settings? :P
If you prefer you can email me at celador_@hotmail.co.uk !
Malc
/ August 20, 2015hey did you ever fix this?
Brendan
/ April 2, 2013Fantastic tutorial! I love the echo effect.
QuestionSomething
/ April 2, 2013I’m glad you liked it! Be sure to show me anything you produce!
Elliot Spencer
/ April 26, 2013I have been doing photography for about 5 years and this post really speaks to me, thank you.
QuestionSomething
/ April 26, 2013Thank you for the outstandingly kind comment! Good luck in your databending adventures!
AL
/ May 25, 2013hi, i’ve just begun experimenting with databending and your post here was a really good guide. after exporting my files though i can’t seem to be able to open them in photoshop to convert them as a .jpg. are there any workarounds to this issue?
QuestionSomething
/ May 25, 2013Thank you very much! That is occasionally a problem! Photoshop detects the file as corrupted and won’t open it.
But, MS Paint carries out no such checks! >:D If you open the file in paint then you can resave it as a jpeg no problem!
This is on Windows of course. I’m not sure if Mac has a really basic image editor, but if not then this one might suffice!
http://paintbrush-mac.en.softonic.com/mac
Let me know how it goes, and be sure to show me the work you do :D
Kevin
/ January 3, 2015mac’s preview application seems to work consistently when photoshop won’t, fwiw
18650行動電源
/ June 23, 2013My partner and I stumbled over here by a different website and believed I may as well check issues out. I like what I see so now i am following you. Look forward to looking at your internet page once more.
Kacheek
/ November 27, 2013Your post is awesome, it helped me a lot! (Graphic design student wanting to incorporate databending images in my design) it’s so detailed and your enthusiasm is infectious. Thanks!!!
QuestionSomething
/ November 27, 2013Thank you very much, I’m glad it helped! I caught the enthusiasm off Antonio Roberts (HelloCatFood)! Breaking the world is too much fun :)
I haven’t had a lot of time to glitch since I graduated because of work, but I post on my Tumblr blog a lot more than on here so if you have one then you should follow that! QuestionSomething.Tumblr.com
I’d love to see some of your designs sometime! :D Good luck, noble techno-anarchist!
Linnea
/ May 31, 2014Thanks a lot for this tutorial. I’ll have to show this to my photo teacher.
QuestionSomething
/ June 1, 2014Thanks for the kind words :) Do let me know what they think!
Howie
/ June 26, 2014Hello,
This tutorial is awesome.
I followed the process step by step and it didn’t work for a while as every time I tried to open up a view the picture that I had exported it just said the file was corrupt or damaged (which made me laugh). I have tried a few different pictures and saving them as various file types but I have only got one to work so far which was saved as .BMP from photoshop then the raw data import did my ‘thang’ exported it as a .BMP and it worked but when I tried to do the next one it just failed again. I was wondering if you possibly knew why this might be happening?
Hope you can help,
Cheers
QuestionSomething
/ July 17, 2014Hello! Thanks for stopping by :)
In my experience that usually happens when the file header gets altered. When you edit the file in Audacity try leaving a small space at the start and end of the “sound file” that you don’t change, and see if that works.
Also, if the sound length changes at all, even by a miniscule amount, it’ll corrupt the file too!
BMP to BMP usually works quite well, that’s what most of the images here were! Give it another shot but just change the middle and let me know how it goes!
Jamie
Ceci est une Doctorante
/ July 14, 2014Reblogged this on mywastedlands and commented:
Databending !
Dave
/ July 16, 2014This definitely doesn’t follow the findings I had when trying the same thing. It seems to affecting the encoding of the image in ways that don’t correspond to an actual spectral output. Is this just modifying the image stream and not the actual graphical representation of a audio spectrum ?
My main gripe is that spectrum analysis of an image wouldn’t care about color in the first place. It’s just intensity at a freq over time. So, you’d want to use greyscale images.
I like the art and experimentation. This just isn’t coming at it in a way that would show you what sound effects actually do to an image-as-spectrum.
You’ll want to look at a program like this.
http://arss.sourceforge.net/
I’ll provide examples in a bit.
Dave
/ July 16, 2014Here you go.
https://imgur.com/a/LyJDT#0
I used the following command lines along with effects in audacity.
From image to wav: arss -q base.bmp out.wav –sine -min 20 -max 21000 –pps 8 -r 44000 -f 16
Export from Audacity using “other” and “signed 16 bit pmc wav”
From wav to image: arss -q out.wav base.bmp -min 20 -max 21000 –pps 8 -r 44000 -f 16 -y 400
QuestionSomething
/ July 17, 2014I’m not certain of the actual programming behind it, my programming and sound engineering knowledge is actually extremely limited. The way that I imagine it is that it simply applies effects to the file data under the assumption that it is a sound. So, an echo effect with set preset on it would alter the file data in a certain way that would produce an echo effect on a sound. And when you listen to the image’s “sound” in Audacity both before and after applying the effects it does in fact apply the echo to the sound. Then when you save the file it creates that ghosting, which to me looks like what an echo would look like.
I’m really just throwing things against the wall here and seeing what sticks, and it’s a lot of fun!
I’d never thought of exporting the sound from Audacity and then turning that sound in to a spectrograph image though – good shout on that one!
Kyrodes
/ July 16, 2014Now do the opposite. Apply Photoshop effects in audio files and listen how it sounds.
QuestionSomething
/ July 17, 2014As soon as I figure out how to do that I’m going to get right back to you with the results.
Listen to 4'33"
/ October 29, 2014;)
<3
Chris Fromiowa
/ July 16, 2014Really interesting work, the attention to detail is admirable. How consistent are the results?
QuestionSomething
/ July 17, 2014In truth they can actually be pretty sporadic and unpredictable! But for the most part they seem to follow the same sorts of patterns (ie, the echo “ghosting” the image and the like).
It depends on a lot of things like the parameters that are set for the effect, and what the image is like.
Chris Malherbe
/ July 17, 2014But now the question remains how does an image with delay sound? haha
QuestionSomething
/ July 17, 2014Not sure if this is what you were after but I did at one point manage to run the sound from Audacity out of my laptop and through a Boss ME-50 guitar FX pedal…then back in to Audacity to be saved.
http://questionsomething.tumblr.com/post/21266920009/all-audacity-does-is-alter-the-data-to-get-the
http://questionsomething.tumblr.com/post/21267312072/that-first-one-wasnt-even-with-any-effects
Which looked outstanding.
Allie
/ July 17, 2014Hi, this is so cool! I’m having difficulty seeing the image while I edit it, it only shows as the audio file. Is that normal, or is there a way to see how the effects manipulate the image as you apply them?
QuestionSomething
/ July 17, 2014That’s normal, yeah. I haven’t figured out a way to see the image while editing it just yet, though perhaps some programming whiz could manage that.
You can however see the image as you’re editing it if you’re doing Hex Editing. Sort of, anyway. If you open the image in Windows photo viewer (or whatever equivalent your OS uses, hopefully) and put it side by side with the Hex Editor then you can just save after every change and see it reflected in the image to the side.
I’d love to see what images you produce either way! (:
BlackTSQ
/ July 18, 2014I found out how you can manipulate your sound files in photoshop!
First you need to create a black .bmp image and import it to audacity. Then add your sound file to the projekt and make it mono.
No go on tracks and merge the .bmp and the audio file together, you can export it afterwards and open it in photoshop ;)
BlackTSQ
/ July 18, 2014update:
If you use a white image and zoom to the beginnig of the file in audacity, you can delete everithing after the header and put in your audio file afterwards. Now you dont have any distortion.
Here is the sample music from windows as a .bmp
http://www.mediafire.com/view/s9qxsgn1cc0d5vf/audiofile.bmp
BlackTSQ
/ July 18, 2014be sure to download it in full quality ^^
QuestionSomething
/ July 18, 2014Outstanding discovery! Excellent work!
When I get a spare day I’m going to have to look in to the musical application of Photoshop filters… :P
BlackTSQ
/ July 18, 2014You can also change your audio file extention to .raw .
Then you can open it in photoshop, but i’m not shure yet how to import that file correctly in audacity ;)
justtheaveragegirl2014
/ July 18, 2014Follow me peeps
Rusty Joints
/ July 18, 2014Cool As Hell!
wakingofthebear
/ July 18, 2014Congratulations on being Freshly Pressed, although it doesn’t appear that your blog needed the boost.
bookwrite1
/ July 19, 2014Reblogged this on Bookwrite1's Blog.
Jessica&Love
/ July 19, 2014This is absolutely fantastic! Thank you so much for sharing !
mbradhoo
/ July 19, 2014Cool idea – wish I had thought of it!
QuestionSomething
/ July 20, 2014Thanks! I wish I had, too :P
fashionforlunch
/ July 19, 2014Great read
http://fashionforlunch.net/
Mytwosentences
/ July 19, 2014Awesome, Awesome, Awesome!!
mightymikedesigner
/ July 20, 2014Awesome stuff man! Thanks for sharing.
Spinning For Difficulty
/ July 20, 2014George Delaney the famous photographer of post WW2 monasteries in Europe and Asia went all ‘psychedelic’ in the sixties and branched out into this field too. We have just been studying him. He achieved similar effects in the analog realm by inserting the film incorrectly or ‘applying’ mugs of coffee to prints to create unpredictable elliptical stains. He made extensive use of a variety of trouser presses, as apparently each brand gave a slightly different effect when applied to the prints.
Unfortunately for him analog photography was not a particularly new technology in the 60’s so everybody thought what he was doing was incredibly pointless and dull.
Luckily for us though ‘digital’ photography and ‘home computer’ music editing software is still relatively new and fresh which makes this seem interesting and meaningful even though it isn’t really.
George Delaney (who is not a real person BTW) sadly died last year. But the good news is that he left 40 thousand coffee stained prints of cats to the National Gallery and they are going to be exhibited in 2023. They won’t be shown on the wall though because that would drive visitors to suicidal boredom. Instead visitors will put on ‘interactive’ virtual reality helmets paid for the the Arts Council and view the entire collection while wandering around an empty O2 arena in London. Their eye movements will be tracked and an algorithm will be applied in real time to create a unique T-shirt design which will then be printed and available to buy in the gift shop (facebook members only). I’m not sure what will happen after that. Just go home I guess.
QuestionSomething
/ July 20, 2014T-shirts available at £24.99 per shirt, or buy in bulk for a whopping 1% discount!
B
/ April 22, 2016Interesting stuff! do you have any other information about this character and how to find his works??
QuestionSomething
/ April 22, 2016Unfortunately he is just a character :P
Spinning for Difficulty was criticising the mundanity of techniques such as Audacity Sonification and how they’re used to create something that seems interesting and meaning but actually isn’t.
“‘digital’ photography and ‘home computer’ music editing software is still relatively new and fresh which makes this seem interesting and meaningful even though it isn’t really.”
And rightfully so really. I love the aesthetics of glitch art but many individuals just tend to run images through Audacity (or some other similar process) over and over again and claim that it’s art every time.
I’m probably guilty of this on this blog somewhere XD
It’s a thrilling thing to get in to, glitch art, but I think it’s a tough thing to do meaningfully. Most of the work that I, and others, do just ends up being a fetishisation of the glitch aesthetic and little more. And I’m actually kind of okay with that, but you do see a lot of the same things being made over and over again – and Audacity Sonification is one of them. Pixel sorting is another.
Still fun though!
Either way, thanks for stopping by :’)
creativeconfessions
/ July 21, 2014Wow, this is pretty awesome. So gonna go back and try some of these now. Thanks for sharing!
gigiphotonista
/ July 21, 2014This is so cool. Gotta try it soon!
Debbie
/ July 27, 2014This was really cool to go through all the effects that you applied and see the results. Now I have to find the time to play!
Gio-One Kenobi
/ July 27, 2014thanks for the tutorial :D it´s so nice to do data bending with Audacity which is one of the freewares available on line, i´ve been exporting the images in a greyscale, how can I fix that too? I tried several things too as another user told u before, but i can´y do anything to fix it ….. can i email u?? and i would like to share some images i made too, i´ve been mixing them with other layers through photoshop …. i´ll wait for your answer …. cheers from México!!! :)
QuestionSomething
/ July 28, 2014Hey there! Thanks for messaging! :D
Hmm…what file type are you importing in to Audacity? (BMP? TIFF? RAW)
And by all means feel free to email me at celador_@hotmail.co.uk! I’d love to see your glitches :)
Sid
/ July 30, 2014It is also possible to do video databending with Audacity, it looks like that https://www.youtube.com/playlist?list=PLu0lr-VldpaEp7aHlnjE2bZJyQBtocYWs
Every videos of this playlist had been done in Audacity and nothing else.
QuestionSomething
/ July 30, 2014These are outstandingly cool! Thanks for sharing, i’ll have to look in to this more!
wolfmachismo
/ July 30, 2014Dude! This is so fuckin cool!
graphicsandprogramming
/ August 1, 2014Love it!
Will
/ August 1, 2014Who’d have thought that chucking an image through an audio program could result in something equaling the talent of David Hockney.
mack74theknife
/ August 10, 2014jeez
lion21as
/ August 27, 2014Reblogged this on Just Things About Web Design.
ᑕᐧᔐᔫᓂᑯᒑᔥ
/ September 7, 2014Sure would love to know the “phaser” effect settings for the psychedelic kitty GIF,
but I’m sure that you don’t have them. I’ve been trying certain settings that keep giving me
horizontal shifts rather than the vertical movement of your GIF.
Ex: http://postimg.org/image/rsiq6ysxl/
Still, thanks a bunch for this tutorial.
QuestionSomething
/ September 12, 2014I don’t have the exact settings I’m afraid, but basically it’s all down to changing ONLY the LFO start phase! Leave everything else the same and just change that by a small incriment each time and it should come out looking like Jarvis there.
Best of luck on your sonification quest!
Your gif is awesome, your cat is adorable, and you’re welcome! :P
ᑕᐧᔐᔫᓂᑯᒑᔥ
/ September 16, 2014Thanks for your help with the LFO start settings. I like the results (even tho it still seems to favor the horizontal aspects rather than the vertical movements that Jarvis has) and’ll keep trying new things. Lily thanks you too for the compliment. She really is a sweetie.
http://postimg.org/image/nxaih5h6r/
ILikeImmortal
/ October 10, 2014Hi,
Thanks for this little tutorial! I have learned a lot from this! But would you please tell me how to export a non-interleaved tiff file from GIMP? That would help a lot.
peter rudolfi
/ July 3, 2015I have read many posts/links on this subject. Yours is absolutely the most thorough of them all. Thank you for taking the time to share your knowledge.
QuestionSomething
/ July 3, 2015Thanks for the kind words, you are most welcome! Really though, Antonio Roberts (HelloCatFood) is the true pioneer! :P
Tris
/ September 17, 2015Hello,
I’m an art student, and i’m glad I found this post ! Seems like many, many, MANY possibilities open with this audacity technique.
I’ve got a problem with the output ; I try to export a .bmp file using the options you detailed ; whenever i try to apply any effect in audacity, the exported file stays unreadeable (with no effects, the exported bmp is readable )
QuestionSomething
/ September 18, 2015Hello there! Thanks for stopping by ^^
Did you apply the effect to the whole “sound” in Audacity? The very start of the sound will be the header of the bmp image, and if that gets changed at all (and sometimes if the length of the track is changed) then the file becomes unreadable.
Try only applying the effect to a smallish section in the middle of the sound and then see how the image looks?
If you have any other issues feel free to email me at Joltanine@gmail.com and I’ll try and figure out where it’s going wrong for ya!
Tris
/ September 18, 2015Many thanks for your quick answer ! your suggestion completely solved my problem : )
QuestionSomething
/ September 18, 2015Glad to hear it :D I suspected that might have been the case.
I’d love to see some of the stuff you come up with sometime!
iamarianabarrett
/ February 5, 2016Have anyone recently try the download link? Is it safe?
QuestionSomething
/ February 6, 2016Which download link? The one for Audacity? It’s safe!
But of course, it’s bad form to trust random guys on the internet :P If you Google “Audacity” it should be pretty easy to find!
Molnar Milan Dorian
/ May 10, 2016im opening bmp picture but im playing as sound and wiev spetogram i cant get it opened picture vice versa. whats wrong?
Sarideit
/ August 22, 2016Thank you so much, I’m having such fun experimenting! Synesthesia is possible without drugs haha
Andrés
/ July 1, 2017Thnaks, man! I’m experimenting with glitches and this is just what i needed!! I love the concept of mixing audio with images in such interest combinations! Greetings from Argentina
Vincent Gramlich
/ August 26, 2017You must be really lucky that you got these results. For me, half the time either Audacity doesn’t know how to interpret the file and just puts out a black screen, or the slightest change to the audio breaks the entire image, no matter where I apply it. I wanted to try to get the Wahwah to work, but that one just ends up breaking the image. The only one I can get to work is echo, and even then the biggest selection I can get away with is about a half of a second.
N T R B
/ February 7, 2021This post is gold for visual thinkers getting into music. Thanks so much for your work here dude!