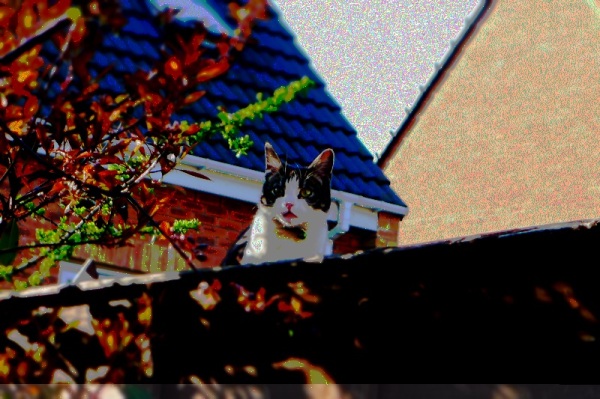
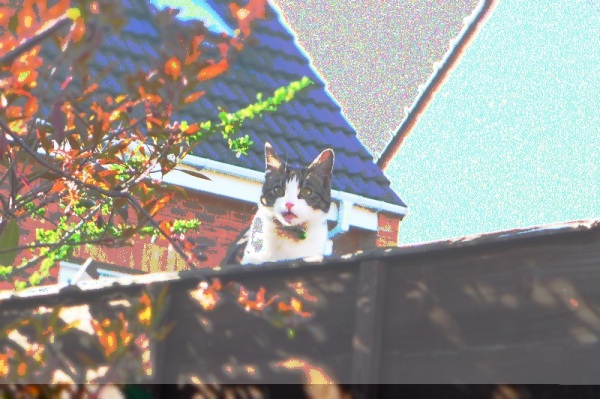
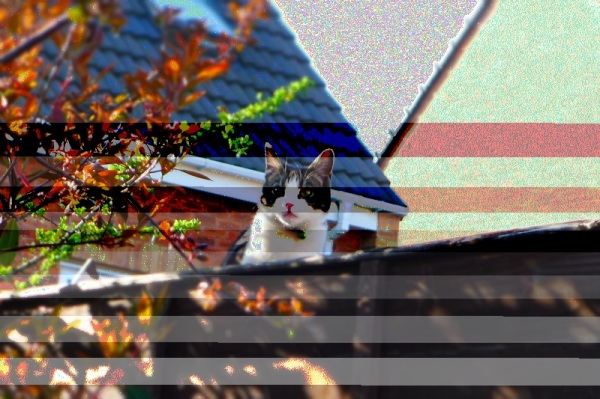
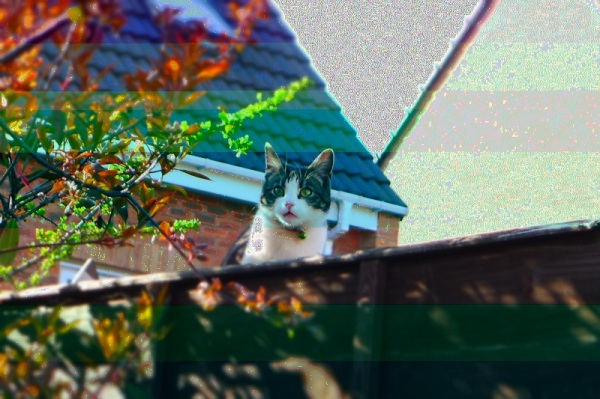
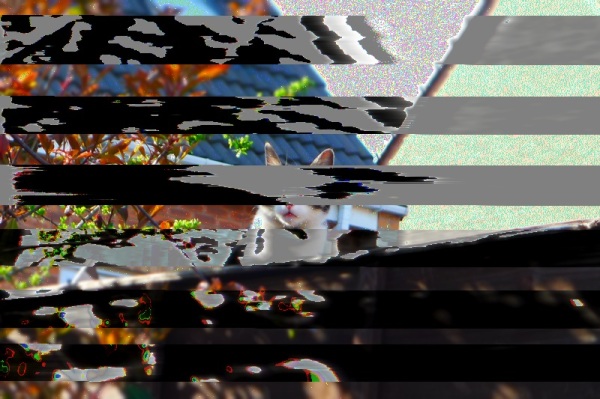
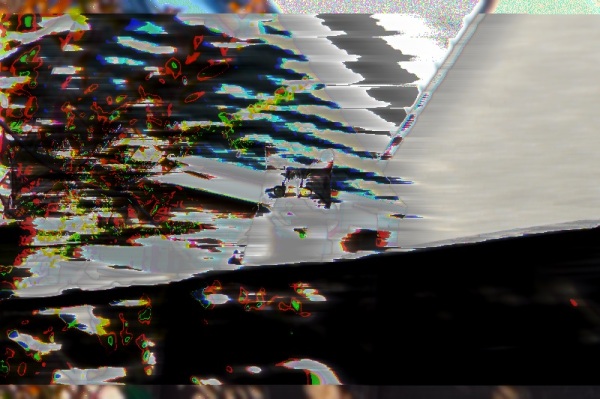
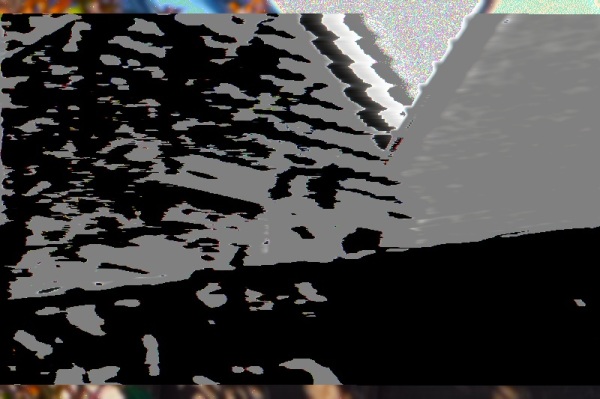
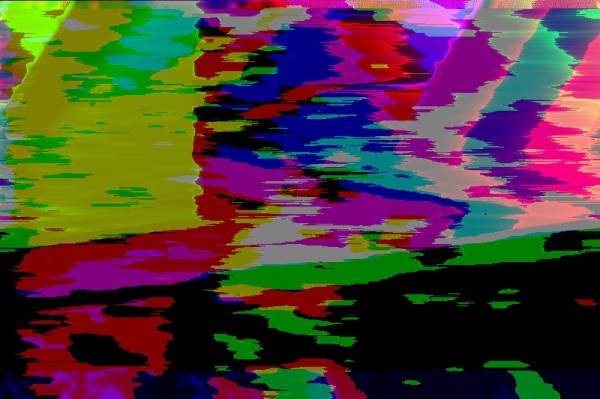
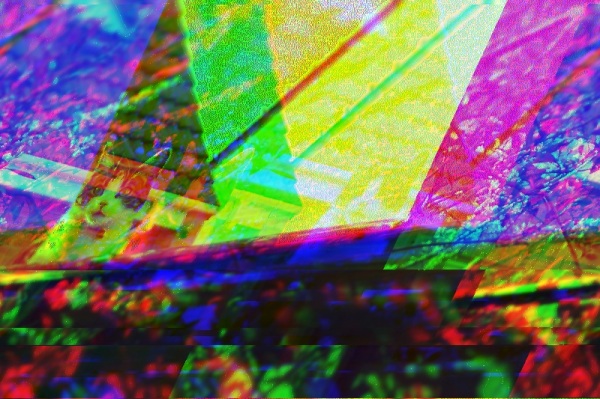
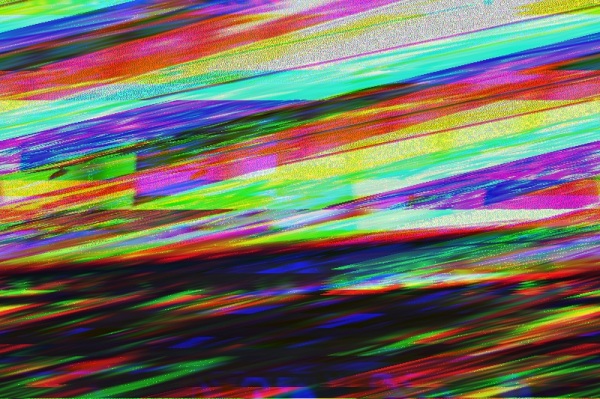
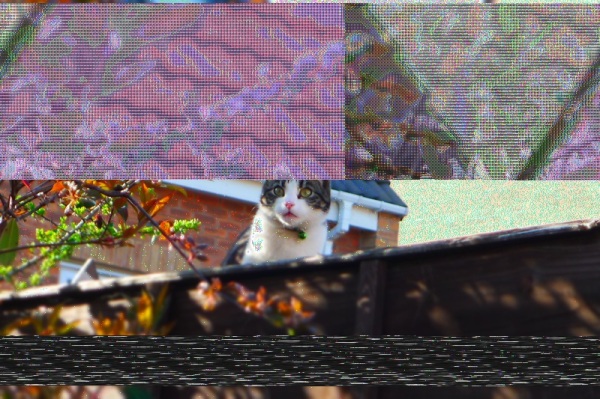
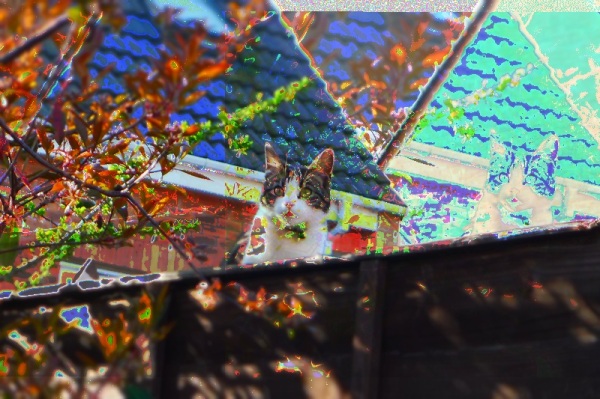
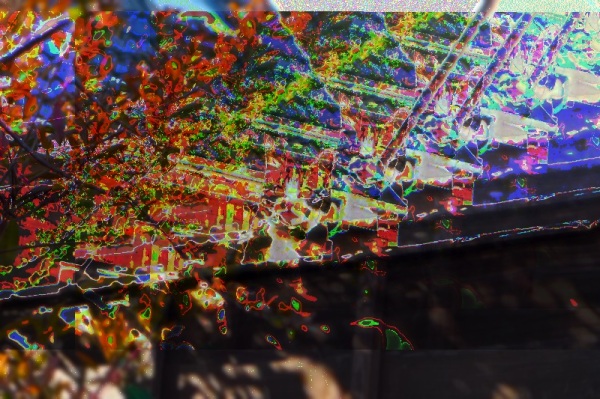
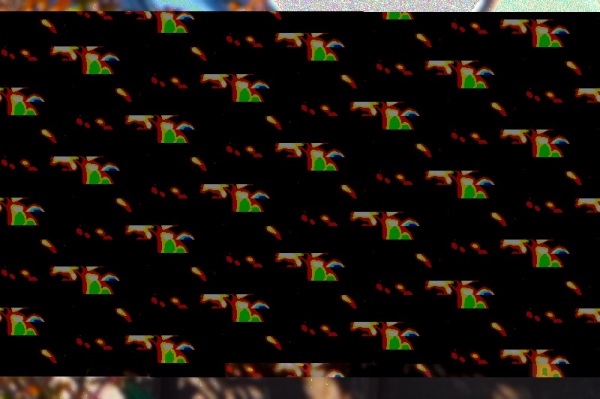
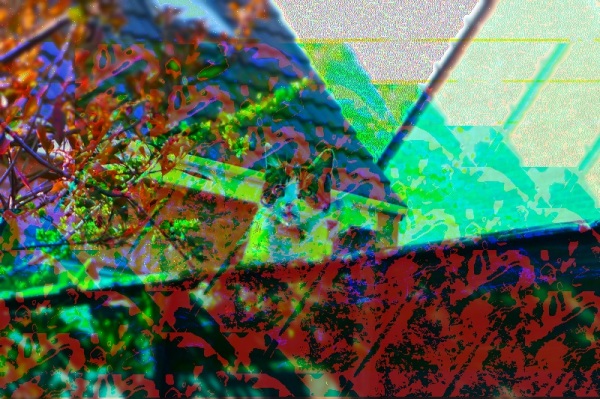
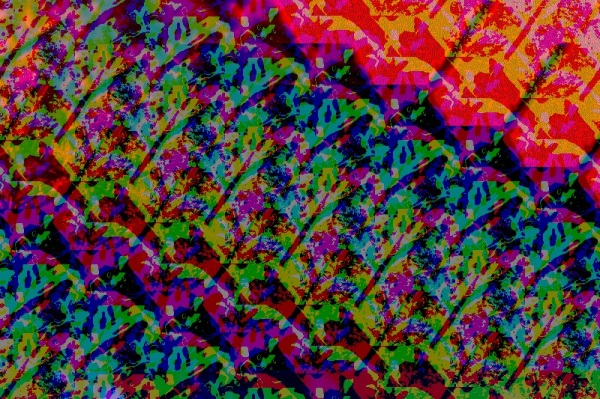
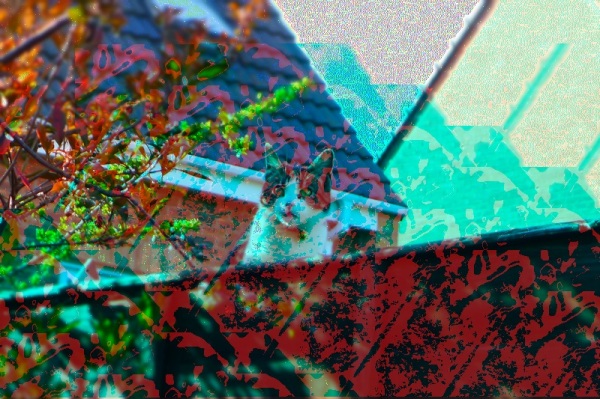
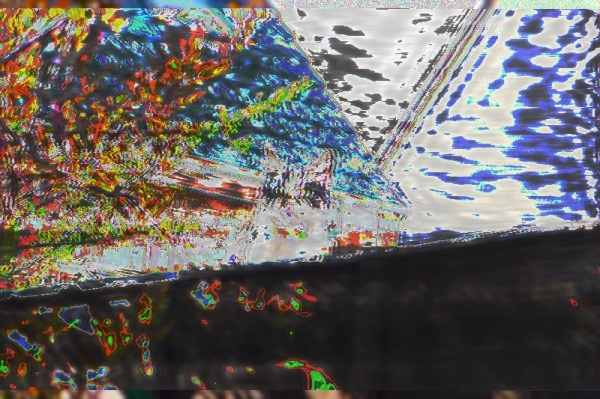
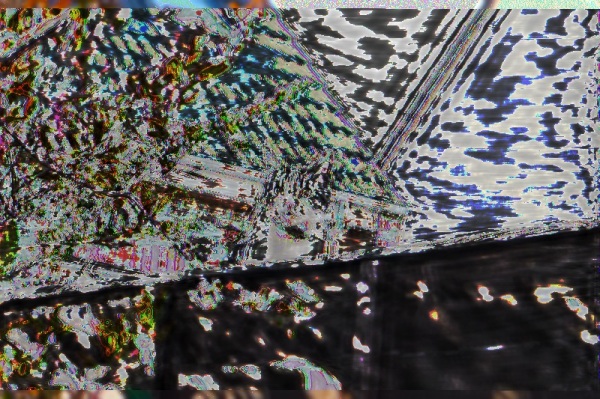
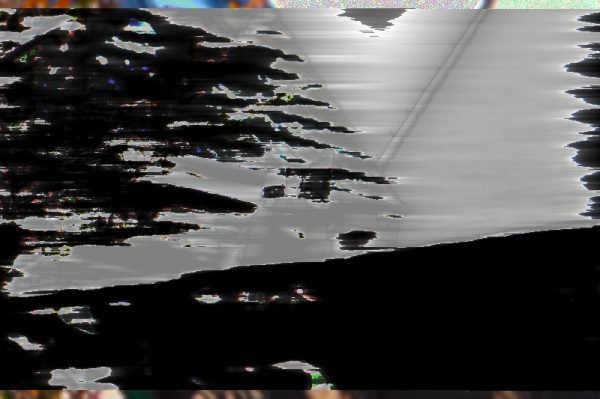
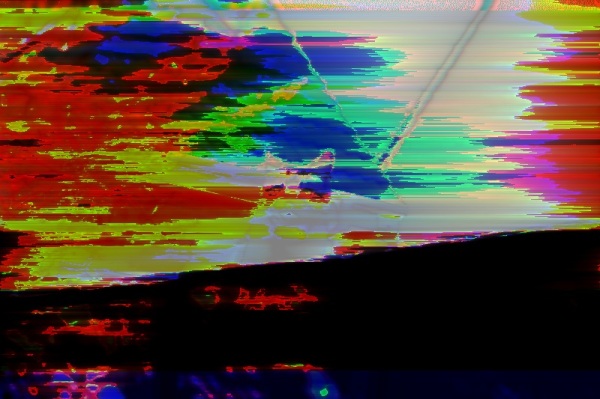
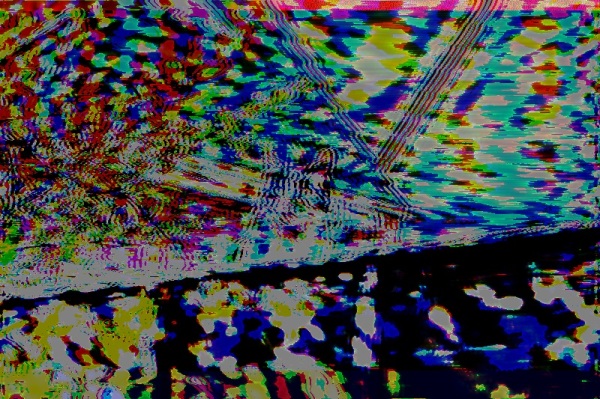
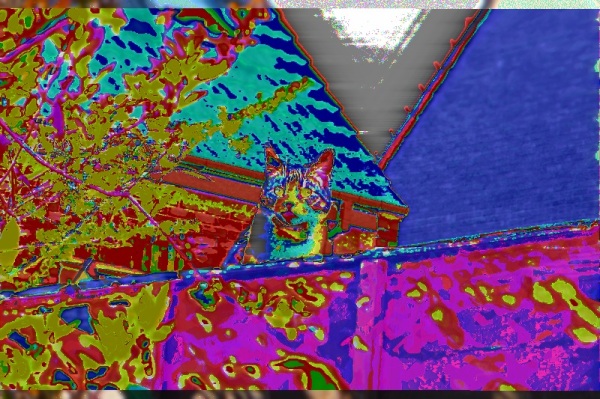
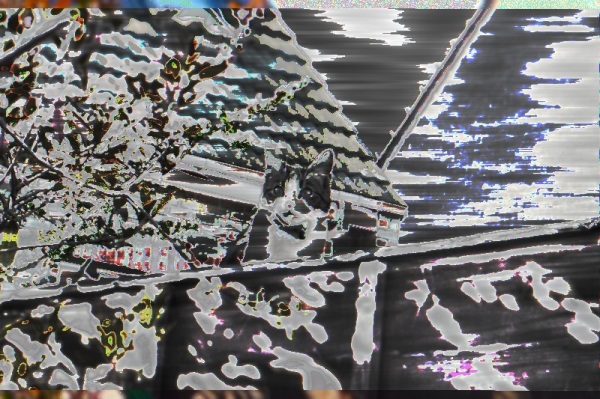
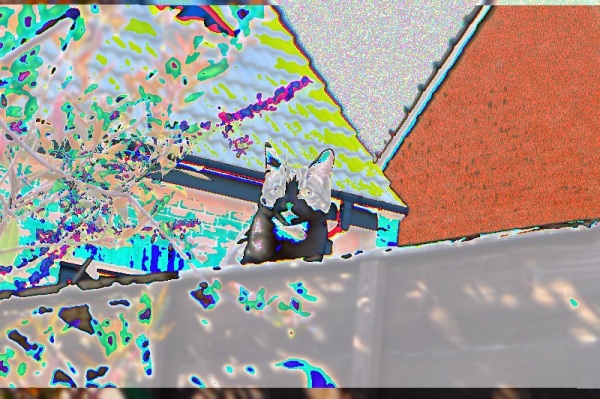
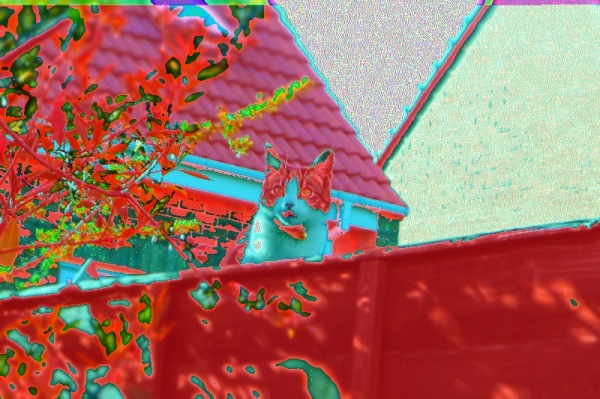
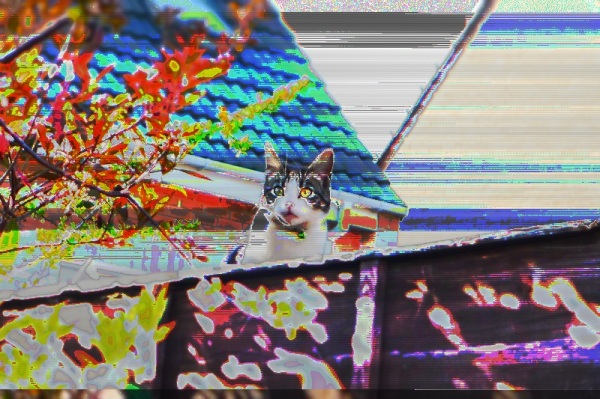
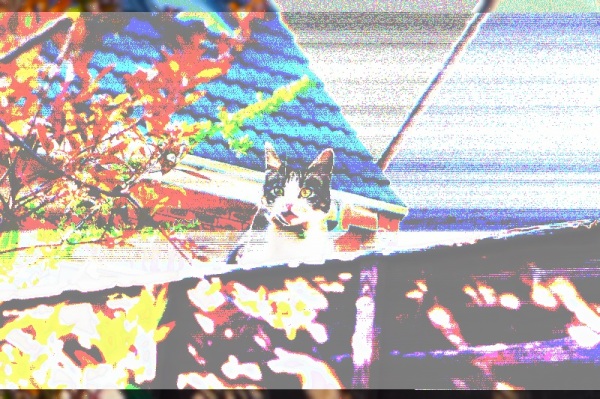
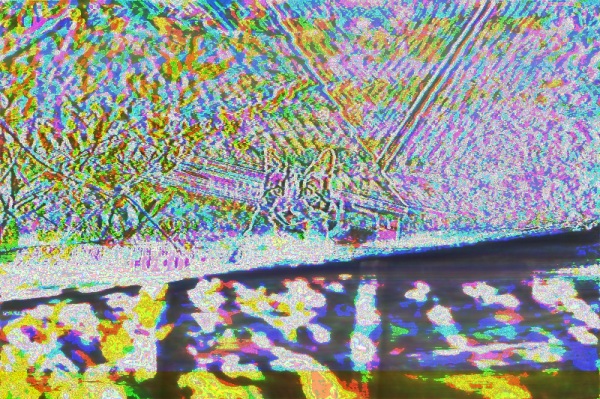
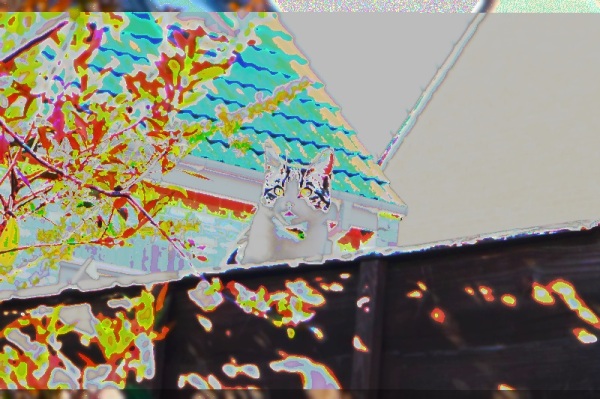
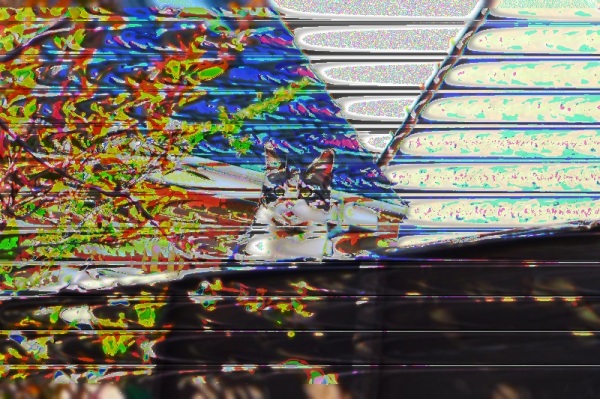
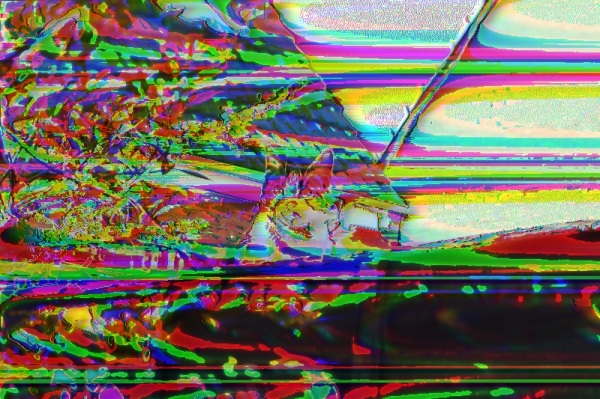
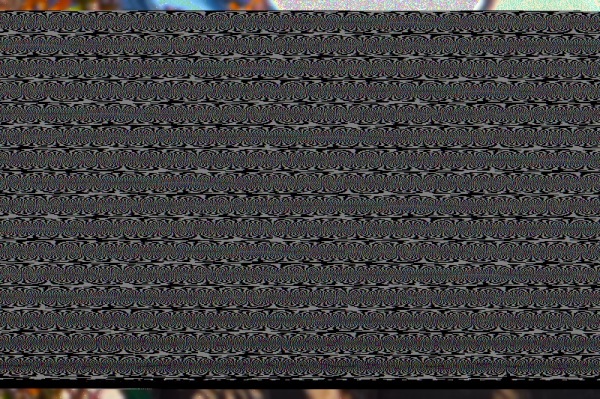
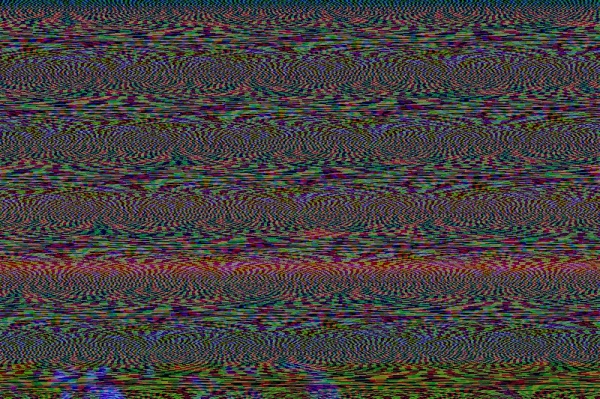
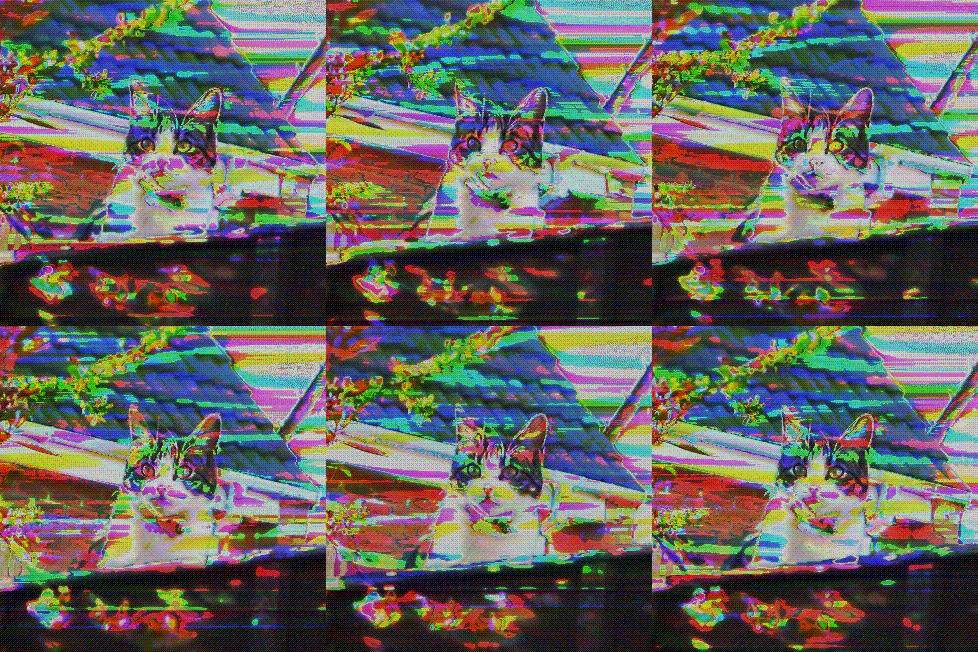
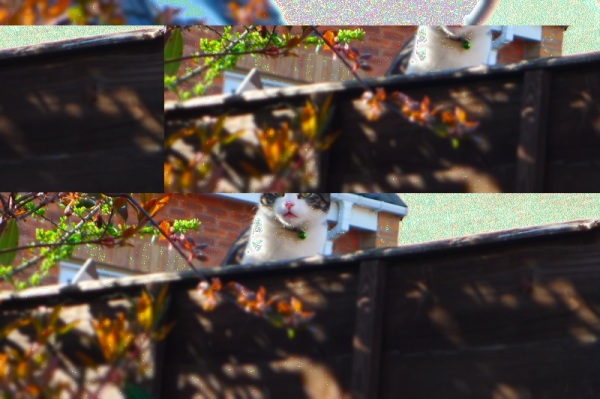
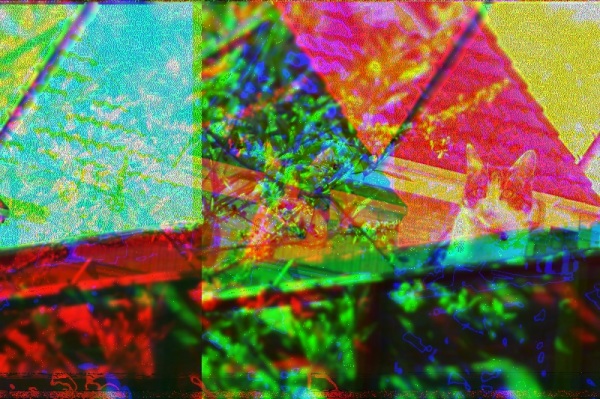
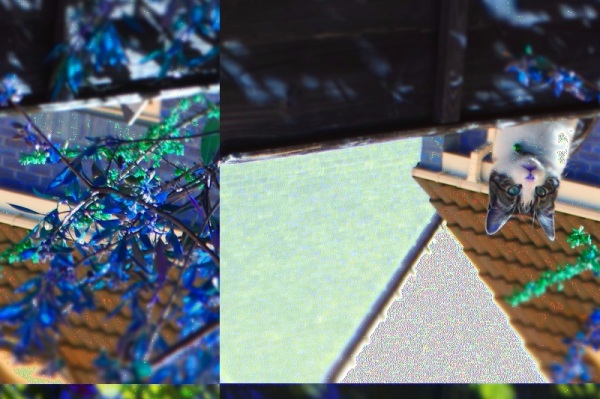
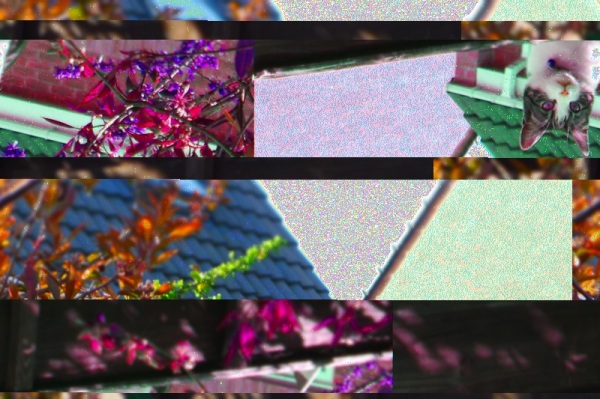
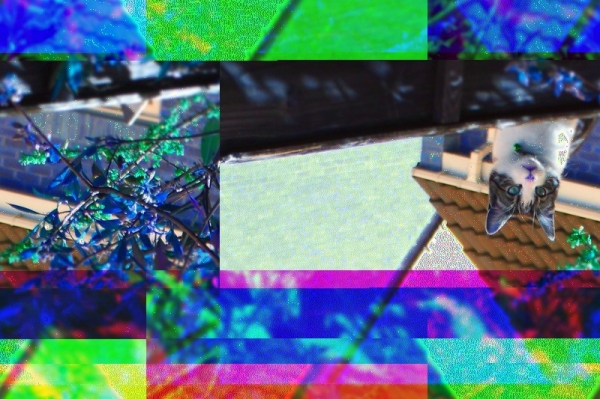
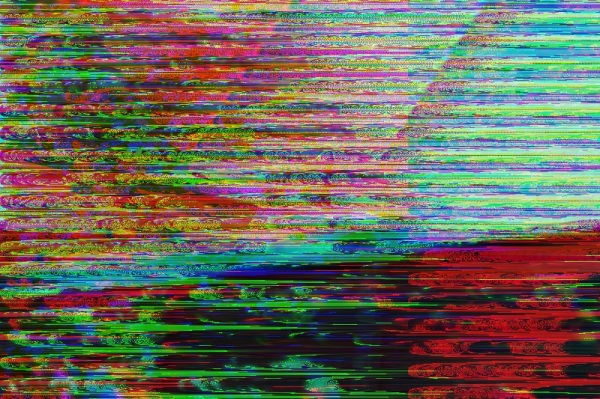
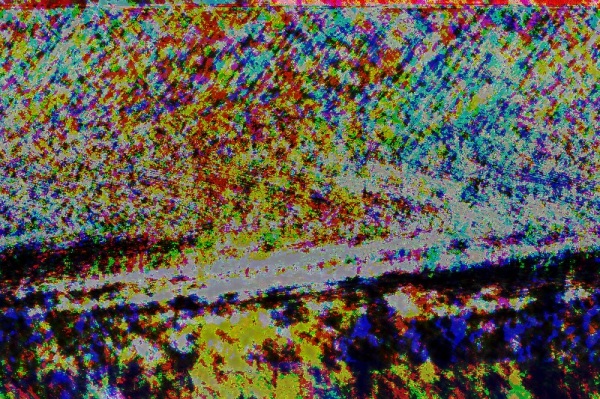
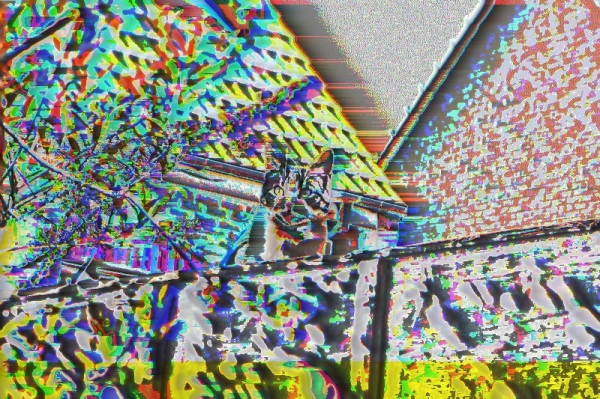
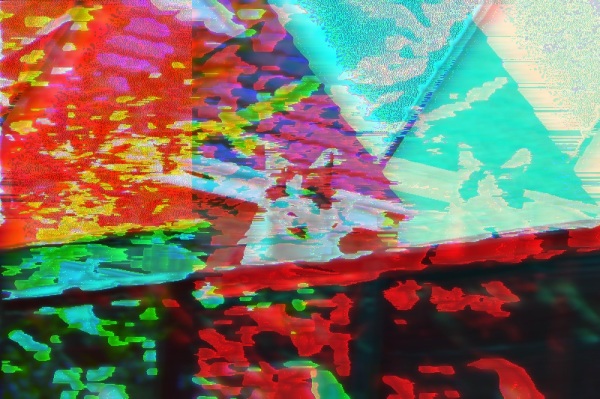
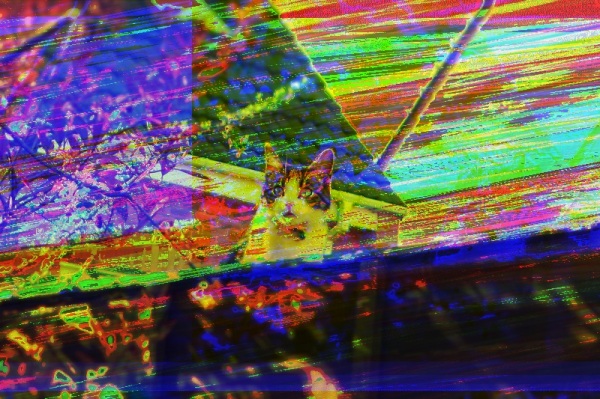
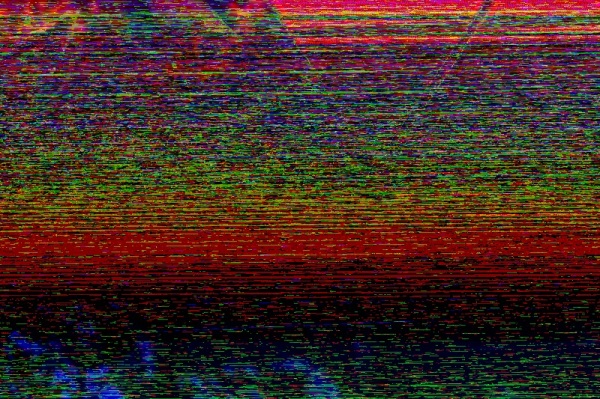
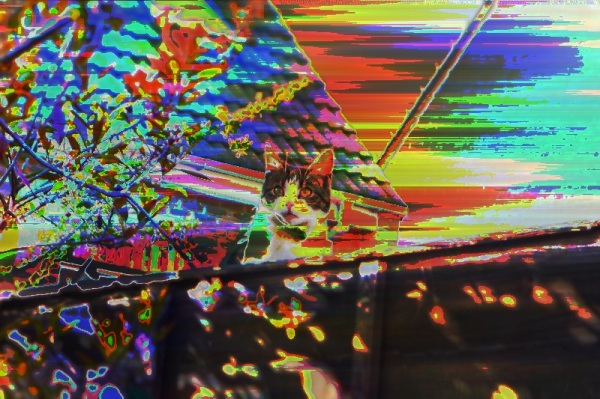
A semi-complete documentation of Audacity Effects on image files.
This can also be found on Tumblr, if you prefer.
When pursuing the wonderful practice of databending I think that experimentation is all important. Discovering new ways to do things is a key element to the entire experience. But I also know that without tutorials from Antonio Roberts (HelloCatFood) and Stallio (AnimalsWithinAnimals) I wouldn’t have taken the steps to really engage in the subject. They acted as a gateway for me to try new things and experiment with other ideas.
If you’ve never encountered it before, I highly recommend checking out Antonio Roberts’ tutorial on databending with Audacity, which can be found here.
If you’ve never heard of Audacity, then here is the website. It’s a free audio editing program with tools to cut and paste sound and to add effects, but it can also be so much more. With just the touch of a few buttons it can take an image and corrupt its form to create something entirely new – and the process is fascinating.
Following Antonio’s tutorial, you can trick Audacity in to opening an image file as a sound. Not only does this give you a sound wave which you can manipulate and bend to your will, but a lot of files sound pretty funky. A bit like if you put a Decepticon in a blender with a couple of R2 droids.
The easiest way to manipulate a file in Audacity is to select a section of the file and apply one of the built in sound effects to it. Now I’m no computing whizz kid but the way I see it when you apply a sound effect to a sound file, the program takes that file and alters the file data in the manner which it’s been told will achieve that effect. So, for example, if you were to apply an echo effect then it would repeat parts of the file, diminishing the repetition after each iteration. The wonderful thing is that it will do this regardless of what the file actually is. Audacity doesn’t know or care whether the file is a sound or not, it will alter it in the manner instructed.
When applied to an image… Well let me show you.
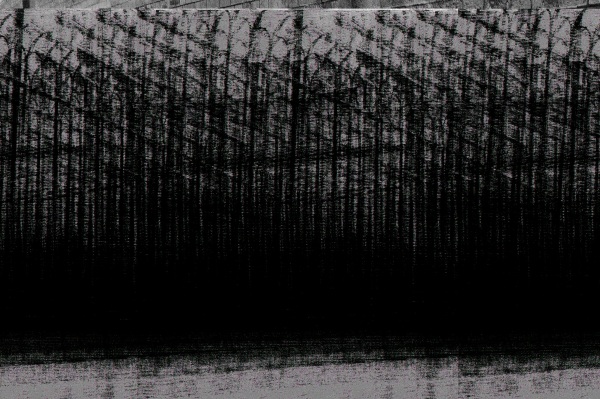
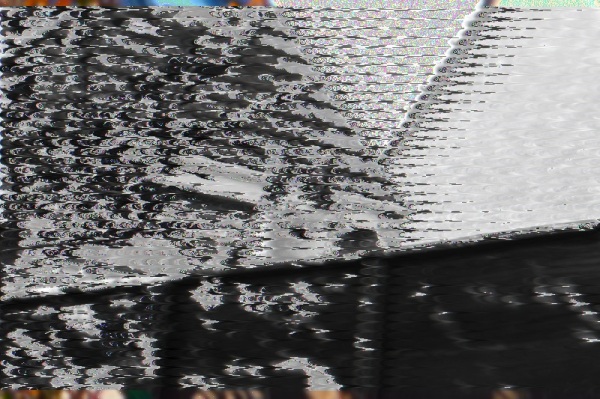
This is a photograph of a fence. You know this. But look what happens when I apply an echo to it.
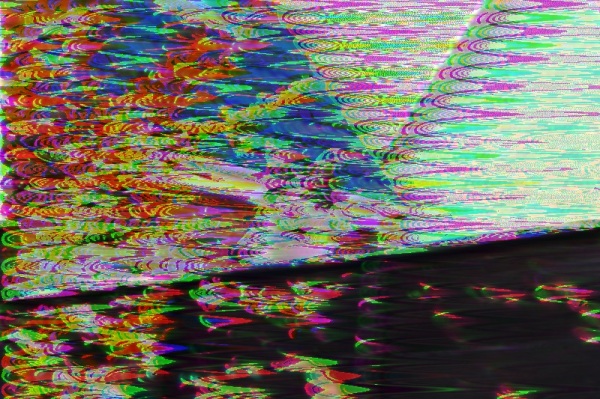
Pretty neat huh? It somehow LOOKS like you’d imagine an echo on an image to look. Let’s try cranking it up to 11 and seeing what happens when we put a lot of echo on to it.
Phwoa, Melinda! That’s the good stuff.
So, you get it now right? Audacity can be used to manipulate files. Brill-o! Time for us all to go nuts and figure out what all those effects do! Me? I’ve already gone through and tested them all, one by one. What other way of finding out is there?
What’s that? I’ve compiled a catalogue of images that display what each of the built in sound effects do to an image? Oh snap, you’re right!
As I’ve said, experimentation and discovery are a huge part of making glitch art. After messing around in Audacity and trying out all the effects I ended up with the following selection of images for my own reference. I had a lot of fun testing things out on different images and seeing what happened and I wouldn’t want to rob that from you! But I’m also an advocate of sharing these ideas and processes, so if you want to cut those corners and go right for a certain look then here’s a semi-complete list of all the built in sound effects Audacity has to offer!
Consider this to be your Action Replay. The Konami Code of Databending with Audacity. The trip to GameFaqs when you couldn’t figure out that you could just pick up the idol and walk to safety. The…wait what was the question?
THE PHOTOGRAPHIC BASE
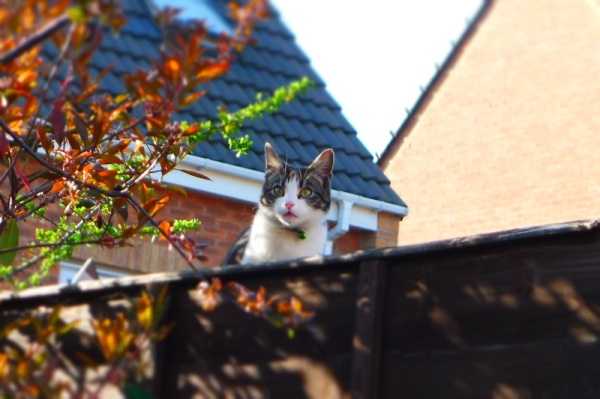
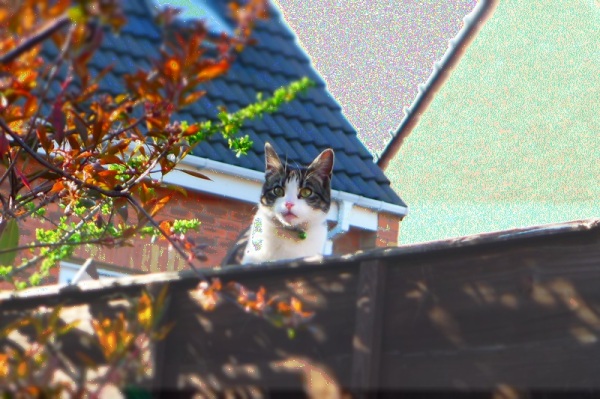
Oh right! Well, for this particular experiment I’d like to introduce Jarvis.
He’s the neighbour cat who keeps coming in to my garden and chasing off all the birds. Remember that – it’s vital to the process of databending.
I took the photo on a Panasonic Lumix LX-5, using the miniature setting for kicks. I imported the image on to my Windows 7 laptop and resized the file in Photoshop CS3 to be 800×533 pixels wide at 72ppi. I tell you this, because different sized images manipulated on different operating systems using different versions of different programs could have an effect on how the image turns out.
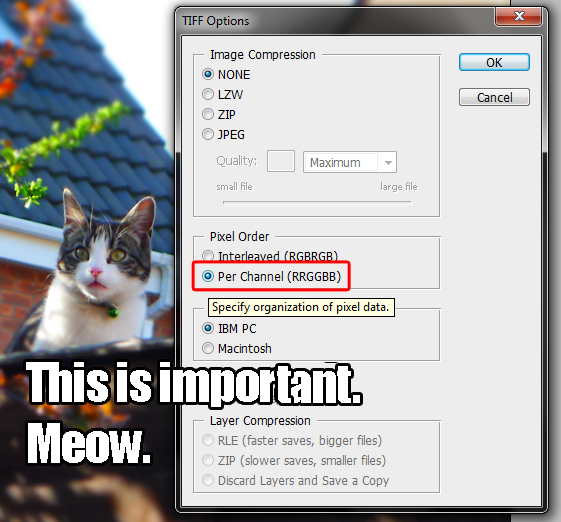
I then saved it as a BMP and a non-interleaved TIFF file. The non-interleaved (PER CHANNEL) part is an important factor.
What’s inside the red box is important. The first T in important is not so. Ignore it’s lies.
What this does is it saves the colour channels of the file separately as you can see by the RRGGBB, which stores all the red values, green values and blue values together. I won’t go too far in to that, but because each colour channel is being manipulated separately it can cause some very interesting colourful effects. When opened in Audacity, you’ll get three ‘sections’ where the colour channels start and end. There’s usually a big jump in the sound file that indicates where one ends and one begins, which means you can select which colour channel you want to manipulate.
I’m also using the latest version of Audacity at the time of writing this, which is version 2.0.1.
So, without further ado…
NO EFFECT
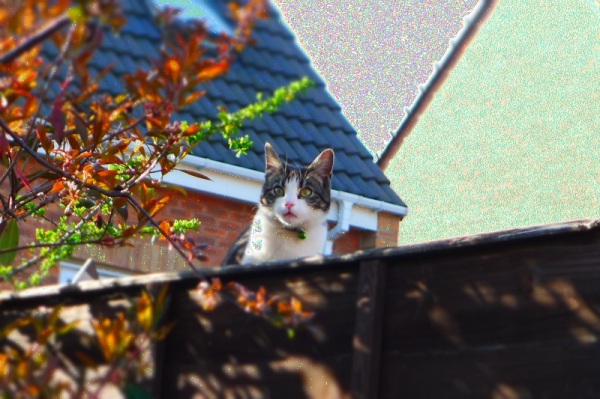
The first thing to note is that you sometimes don’t have to apply any effect to the image at all for it to be slightly changed. Here you can see that the brightest areas of the image have a grain on them now. I originally thought this was a side effect of the amplification process, but actually it turns out that this is just the distortion that happened when Audacity tried to interpret the file. So in all the images that follow, ignore that grain!
AMPLIFY
As you can imagine, amplify just changes the volume of the ‘sound’. This pretty much just makes the image darker, more contrasted and generally more intense.
When using a TIFF file and applying the effect to the entire image it has the same effect as on a BMP, but when amplifying sections of the colour channels you can increase or decrease how much of that colour there is. For example, you can see here where I’ve increased how much green there is by amplifying the sections.
AUTO DUCK
I was disappointed to find that this did not in fact turn Jarvis in to a duck. Ducking seems to be when you lower the volume of a track so that another track can be heard over it, like if you were doing a voice over to a video and wanted it to be loud, but then quieter when you were talking so that you could be heard. Without there being multiple tracks this doesn’t seem to have many uses other than basically being another way of ‘amplifying’ your image. But hey, go wild!
BASS BOOST
The bass boost effect is rather volatile. Below, I applied varied levels of boost and frequency to the image but each one drastically altered it. Below the first image you can see how it looks at low, default and SLIDERS-AT-THE-TOP levels of bass boost.
I don’t know about you, but as far as abstract patterns go I rather dig it! And it gets even better if you use a TIFF file! Huzzah!
CHANGE PITCH
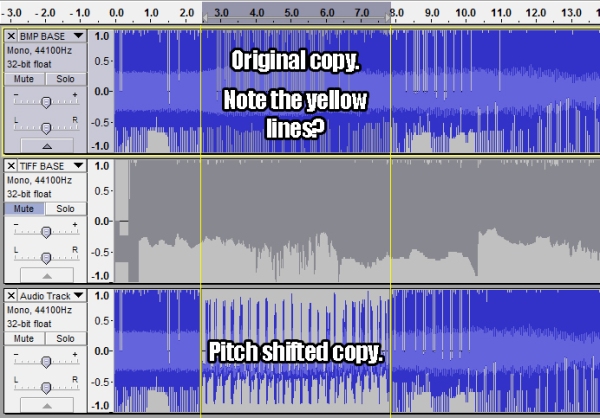
One of the things about these files is that you have to keep them the same length as when they started, otherwise it doesn’t work. Changing the pitch of a file seems to alter the file’s length a tad, which means that applying it straight on to the ‘sound’ doesn’t yield a useable result.
What you have to do is make a duplicate channel with the same ‘sound’ file on it, then apply it to that. Then, select that section of pitch changed audio and measure its length. Then you need to remove that exact amount of sound from your original track and remove it using the split cut feature. It sounds tough, but if you split the pitch shifted section from the rest of the track then Audacity ‘snaps’ your selections to the edges of that section. Let me show you.
So you delete that section in the top track, and then drag the split selection from the bottom track in to its place. This replaces the section of unaltered sound with the pitch shifted sound without changing the length of the file. But remember, when you save the file, you need to only have the one track active. Either mute or delete any other tracks that you’ve got open, else it won’t work.
Well, there is a way to layer tracks, but I’ll save that for another tutorial. For now, enjoy this.
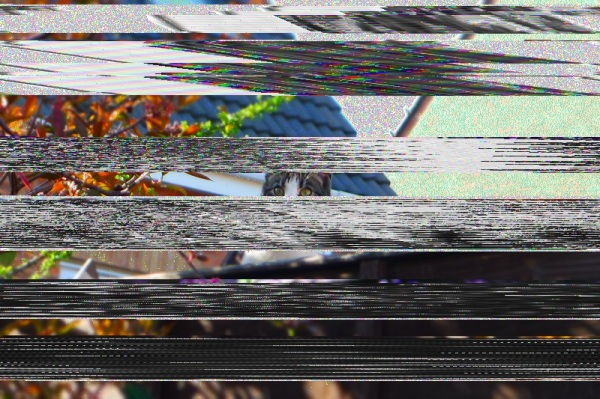
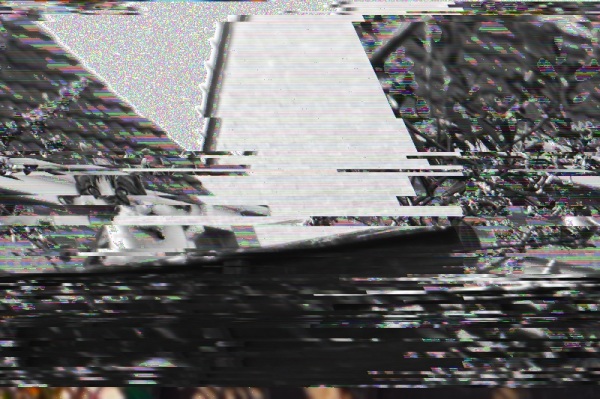
Yep, it makes it pretty static-y. It seems that what it actually does is to shift everything around, so the more you’ve changed the pitch the more intense and thin the static is – but it’s very sensitive. The second one from the top is only a 1% increase in pitch. The top one is a 0.3% increase. Here’s what happens when you increase the pitch by 0.05%.
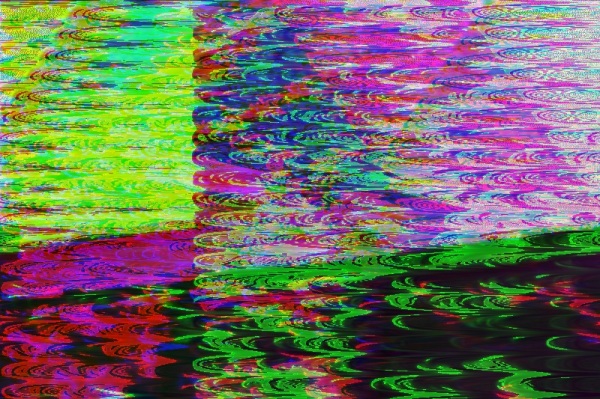
Funky huh! It’s got that kind of analogue look about it. But now look at the TIFF file version!
Same again, at 0.05%! But look at all dem purdy colours! I tried it again at 0.5%.
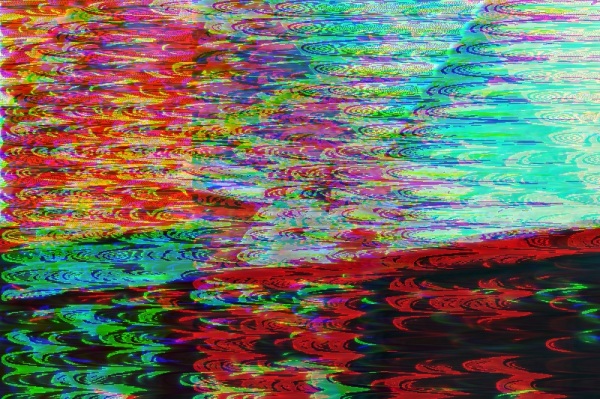
Now it’s colourful and sweepy! Bodacious!
To show you how it affects each channel, I applied a small pitch shift to sections of each colour channel. The results? Well, mostly it just ‘shifted’ everything.
CHANGE SPEED/CHANGE TEMPO
Changing the speed of the ‘audio’ also changes the length of the file, so you need to use the same technique for this as you do with altering the pitch. I’ve also noted that changing the tempo does the exact same thing as changing the speed. In music there’s a difference; in glitch art there is only the thrill of chaos!
The first image has a 5% change in speed either way, then the second bumps it up to 50%.
The third image is obviously another one of those delicious TIFF versions, at 50%.
CLICK REMOVAL
I tried all the different settings on both of the files. On this particular file this effect did absolutely nothing, which is weird because it sounds like this and there’s got to be some things that register as a click in there; but apparently not. That said, while it didn’t work for me it might yield something for you! So give it a shot!
COMPRESSOR
This also did not do a lot. The changes amounted to nothing more than a slight shift in the brightness of the image, no matter what I tried. But again that’s not to say you shouldn’t experiment. I didn’t find anything but you might find the Higgs Boson for all you know!
And that joke would have been much better had we not already found it at the time of writing this. Moving on!
ECHO
Ah yes, you’ve seen the echo in action and know how it works.
The echo effect as two variables – delay time and decay factor. The delay time increases the gap between each repetition of the image. So the higher the delay time, the less of the effect there is. The decay factor works the opposite way. The higher the decay factor the more time it takes for that echo to decay away, meaning that the images will stack over each other more.
Really, this one’s an interesting one and I can’t recommend anything more than experimenting with it for yourself with each image. It can create some interesting ghost effects, repeated patterns and abstract pieces. Just go for it.
Seriously. Now. Go. Do it. Are you done? Was it cool? Of course it was cool. You’re subverting modern perceptions of technological limitations.
Because it makes so much colour already it gets super-powered when you use it on a TIFF.
EQUALIZATION
This one’s a tricky one. It gives you a grid and you can literally go wild with it. I’ve found that making sharp spikes with it works somewhat, but also making curves is great. There’s a some room for experimentation here with different equalisation shapes, but here’s a few that I got by making zig zags!
And when applied to a TIFF…
Now, I often find that I don’t like the grey in these. I mean dark and dull can work for some things, but I like the colours to be vibrant. Below you can see an image created while using this effect, then another image below it. All I’ve done is open the file up in Photoshop CS3 and using Image>Adjustments>Brightness/Contrast I’ve pumped the brightness up to 100. This negates the grey and brings a bit of life to those colours. Aside from that one image, everything else here is shown exactly as it looks when exported from Audacity.
There are also some preset curves in the equaliser dialog that you can choose from. Inverse RIAA turned out to be the most interesting, with acoustic bringing up the rear with this interesting sweep it’s got going on. Everything else sort of looks the same.
FADE IN/FADE OUT
This one is pretty self explanatory. I’m sure that you know what fading in and out on a track is. This applies that effect to an image, and you can see how it works.
All it seems to do is add these white lines to the image where it’s diluted it away to start fading in. Other than that I’ve not noticed any other differences to the image.
INVERT
The invert effect turns the entire sound upside down. It doesn’t have any variables at all, so here’s what it looks like applied over a BMP image.
It’s…kind of inverted. It’s certainly something. But here’s it over a TIFF file.
I wonder what happens when you just apply it to the channels individually…
Apparently it messes with the colours. Who knew?! Looking at the pattern of previous TIFF file examples, you’d think it wouldn’t do ANYTHING to the colours at all! [/sarcasm]
LEVELLER
This one was another bust. With everything at max and min there was only slight changes to the brightness of the image. But again, experiment at your own leisure!
NOISE REMOVAL
Before you can apply this effect, you have to click “Get Noise Profile.” Then you can happily remove noise to your heart’s content.
Of the sliders, the only one that seemed to make any difference to me was the first one – Noise Reduction (dB). In the images below it is set to min, default, and max respectively. Strangely enough, the more noise reduction applied to the sound, the more noise there would actually be in the image.
And again, applied to TIFF files for your leisure.
NORMALIZE
For this effect that first checkbox is all important. Without it turned on, it doesn’t do anything. But with it turned on it does this.
That’s with everything at default. Apparently you’re not allowed to normalise UP but I went down to -50dB and all that did was make the image lighter because it’s making the sound quieter.
NQUIST PROMPT
This seems like the place where someone would write their own parameters for altering the sound. Unfortunately, it’s far beyond me. I know my way around a computer but I don’t know how to write programs. Perhaps someday I will, but for the moment I’ll leave this to those that know what they’re doing.
The only thing that I can note is that typing gibberish in to the box, or pasting the script to an entire episode of Monty Python’s Flying Circus doesn’t do anything.
PAULSTRETCH
What a name. It sounds like an unfortunate torture device built only for those named Paul (sorry, Pauls of the World).
Changing the ‘stretch factor’ of this effect changes the length of the file, but somehow I managed to get some static out of this instead of just broken files. A welcome anomaly in my results when changing the length of the sound track.
Changing the time resolution to zero did nothing. But setting the time resolution to the length of the clip that you’re using made this cool glitchy coloured cloud effect!
PHASER
Ah, this one’s a good one. It kind of pulls the file to the side and has this weird curve to it. It’s really interesting how when you apply something to an image it LOOKS like how it might sound. At default, here is what it looks like on the BMP and TIFF files.
Not bad at all! The BMP ends up with more darker lines while the TIFF has it’s colours run amok.
There are six variables here, so I’ll list what each of them does quickly.
STAGES changes how many spikes/curves will distort the image.
DRY/WET changes how intense the phase is. If this is set to 0 then the Phaser does nothing.
LFO FREQUENCY dictates how close together those stages are going to be.
LFO START PHASE determines where the phase starts.
DEPTH seems to decide how wide and intense the phases are. If this is set to 0 then the Phaser does nothing.
FEEDBACK is just a ball of fun. The more it strays from 0 the more distorted stuff gets, but putting it at either ends of the scale is the most fun. Take a look.
Neat! And of course the TIFF versions too! I increased the brightness on these to showcase the pattern-y goodness.
Coming back to the LFO for a quick second. This setting doesn’t make a lot of difference, but if you had several versions of this at differing intervals you could make it move. Like so!
Mmyep. Someone put LSD in Jarvis’ water bowl again.
The same sort of effect could apply to a load of the variables across the effects in Audacity. If you take them one step at a time and save each time you could get a steady progression between them.
REPAIR
The repair tool can only be used on very, very small sections of a file. I imagine it might have an effect if you went along and did it for the entire file, but that could take hours and might not be very good. Perhaps, someday when I’ve got little to do, I’ll go along and find out. But for now, this shall remain a mystery!
REPEAT
This one basically just copies the section then repeats it over. On a BMP file it looks like this.
But if you copy and replace a section of a TIFF file it looks like THIS!
REVERSE
This one takes the entire thing and flips it backwards – a little bit like invert. On a BMP file it doesn’t do a lot. Cuts it up and messes with the colours just a little bit. On a TIFF file, if you do a lot of different reversed sections it can make some colours, but really you’re better off just selecting pieces and cutting and pasting it that way.
Again using the TIFF.
SLIDING TIME SCALE/PITCH SHIFT
Remember Change Speed and Change Tempo? Well this pretty much is the same thing. It has some uses for editing audio files I’m sure, but for glitching images it’s not so great. Not to mention that it changes the sound track length so you have to compensate for that. My experiments have given me nothing new here!
TRUNCATE SILENCE
This particular tool is used to reduce the duration of silence in sound tracks. In this particular track/image? There aren’t any. But despite that, it would also alter the track length. Again, I didn’t find a use for this, but you might have better luck.
WAHWAH
The wah effect works very similarly to the phaser. When set at default it makes these cool patterns in the BMP and TIFFs respectively.
Some of the settings are even the same as on the phaser and they even do the same thing, just for this pattern instead of the phaser pattern. I found that it was much cooler to apply the effect to a TIFF twice in a row.
And again, if you turn the resonance all the way up you can really see the pattern coming through. Looks a bit like those phaser patterns.
MISCELLANEOUS
And that is the end of the base audio effects in Audacity!
After those effects there is a line break, and a few other effects. The notable mentions are below, along with a couple of other things I’ve found, but I’m hoping this has given you the bug and filled you with the desire to go out and experiment and find new and more interesting ways to mess with file types!
GVerb
High Pass
Low Pass
Delay – Bouncing Ball
Notch Filter
That’s How, for now!


